The rights in Tenacy differ according to the role of each user.
Summary
1. The different roles in Tenacy
2. How do we create a new user?
3. Can we restrict user access?
1. The different roles in Tenacy
You will be able to find 3 different roles in the solution: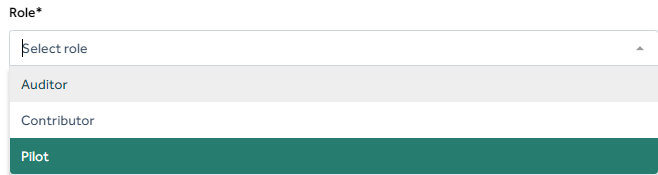
Pilot: administrator role, can create, assign and delete objects. The pilot has access to the entire platform.
Contributor: more limited role, can enter data and update objects assigned to him by a pilot. The contributor only has access to the "Cockpit" and "Contributions" tabs in the left-hand menu. ⚠️ They cannot create or delete objects.
Auditor: has read-only access to the entire platform. ⚠️ They cannot create or delete objects.
Pilots are divided into "root" and "local" drivers.
a) The root pilot
It has access to the entire solution and has modification rights everywhere.
b) The local pilot
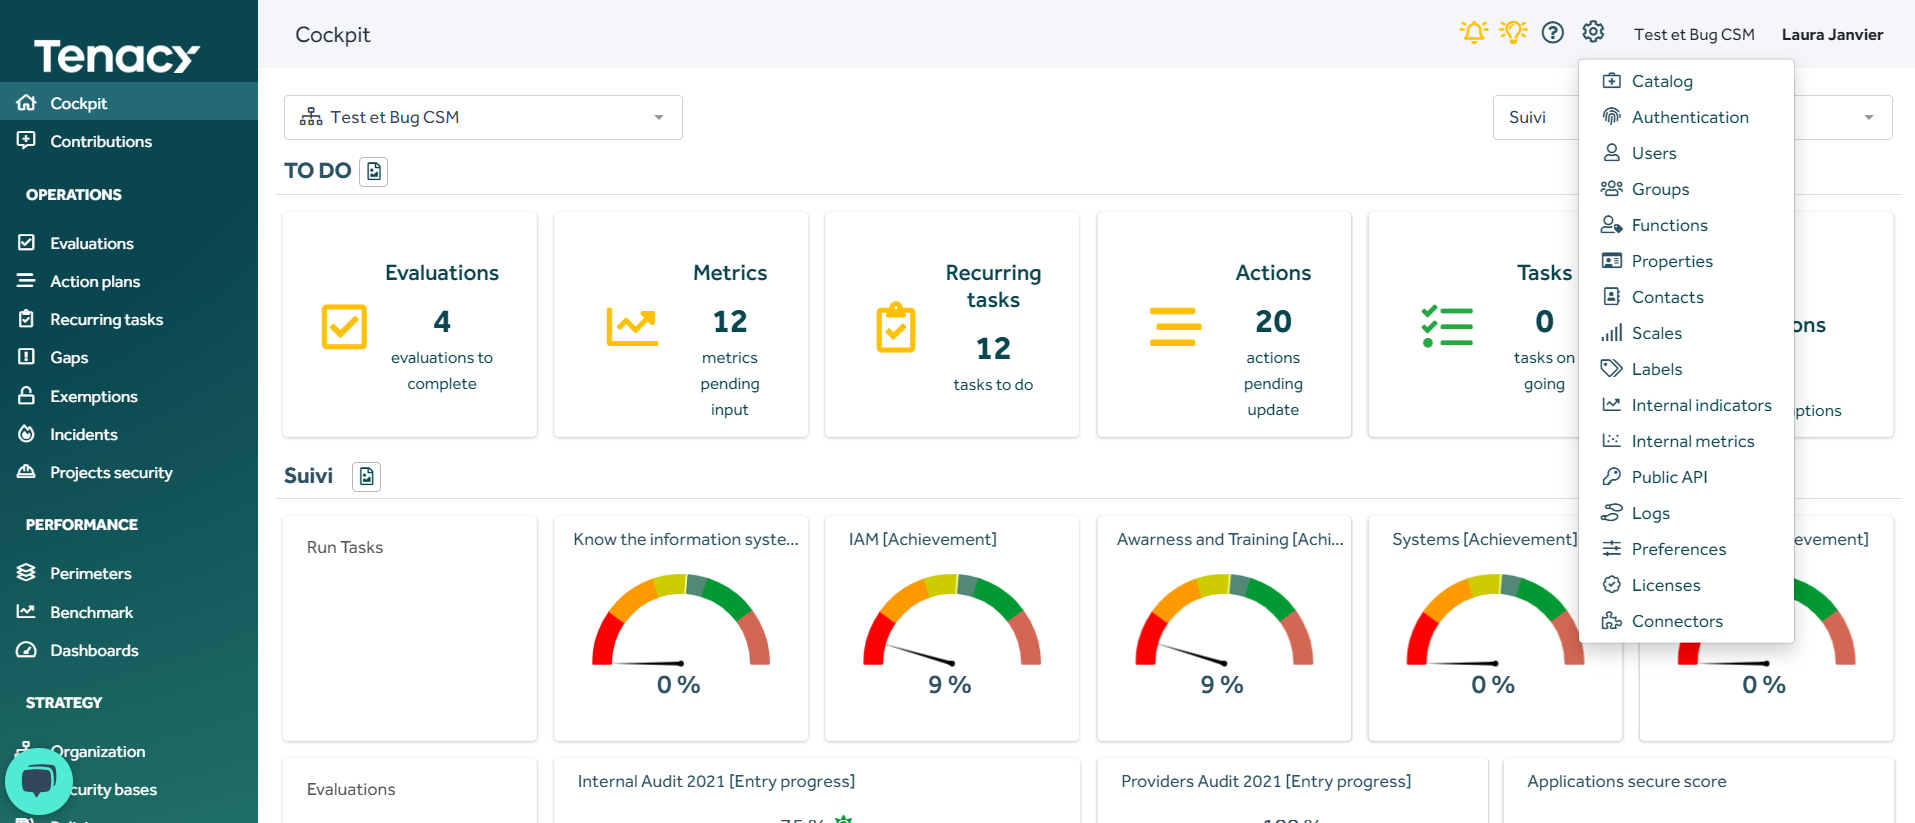
He has more limited rights in the solution. He has access to all the functions in the left-hand menu, excluding "Benchmark", and in terms of the solution settings (cogwheel ⚙️), he only has access to the following parameters :
- Catalog
- Users: local pilots don't have access to all users, only those who are part of the same organization to manage them. They will not be able to create other pilots because it's an item subject to licensing.
- Groups
- Contacts
- Labels
- Connectors
-png.png)
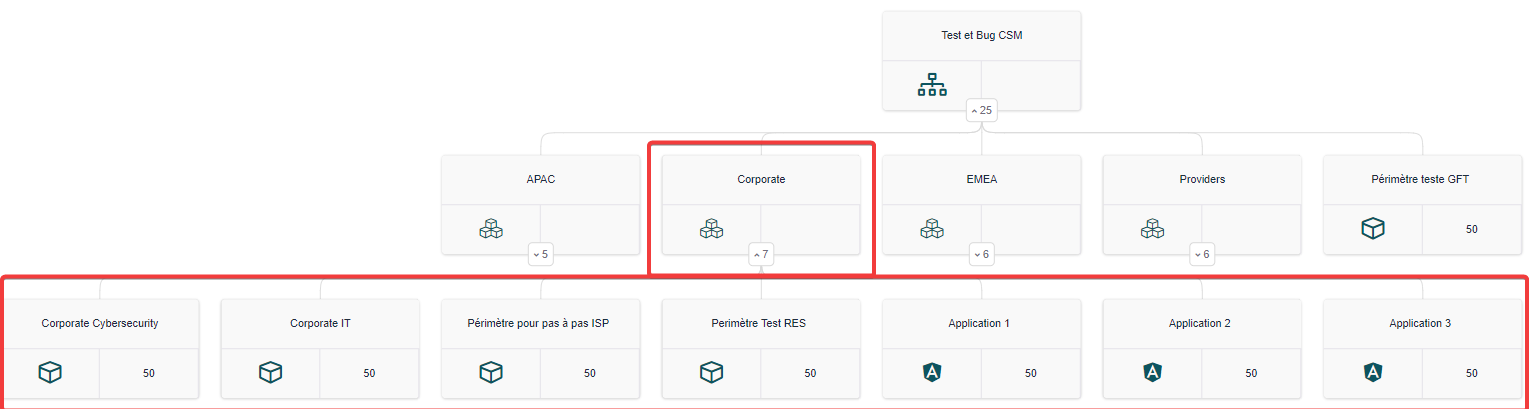
🔎The local pilot will only see, and will therefore only be able to act on, what concerns his group/perimeter and below it.
Example: a pilot attached to the "Corporate" group will only see and be able to act on what is attached to this "Corporate" group and the perimeters below.
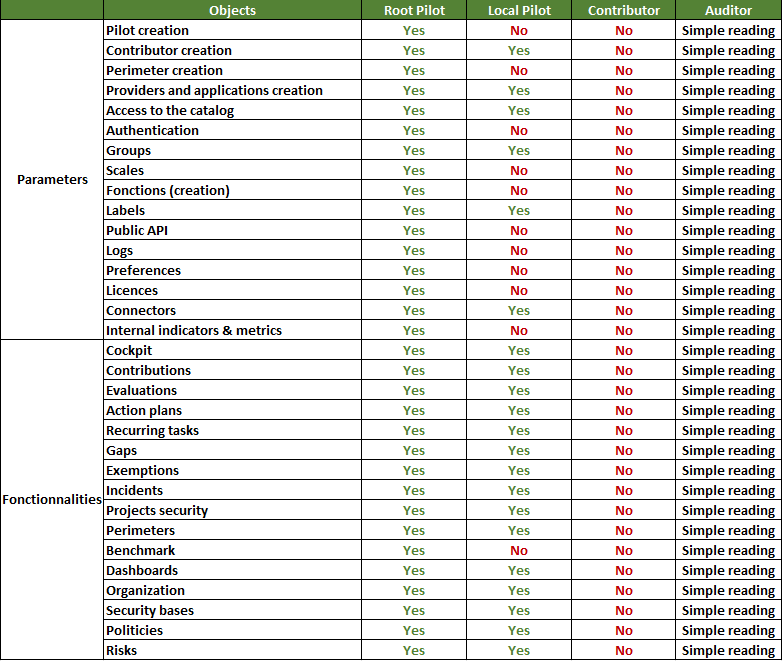
Here is a summary table of Tenacy rights by user:
2. How do we create a new user?
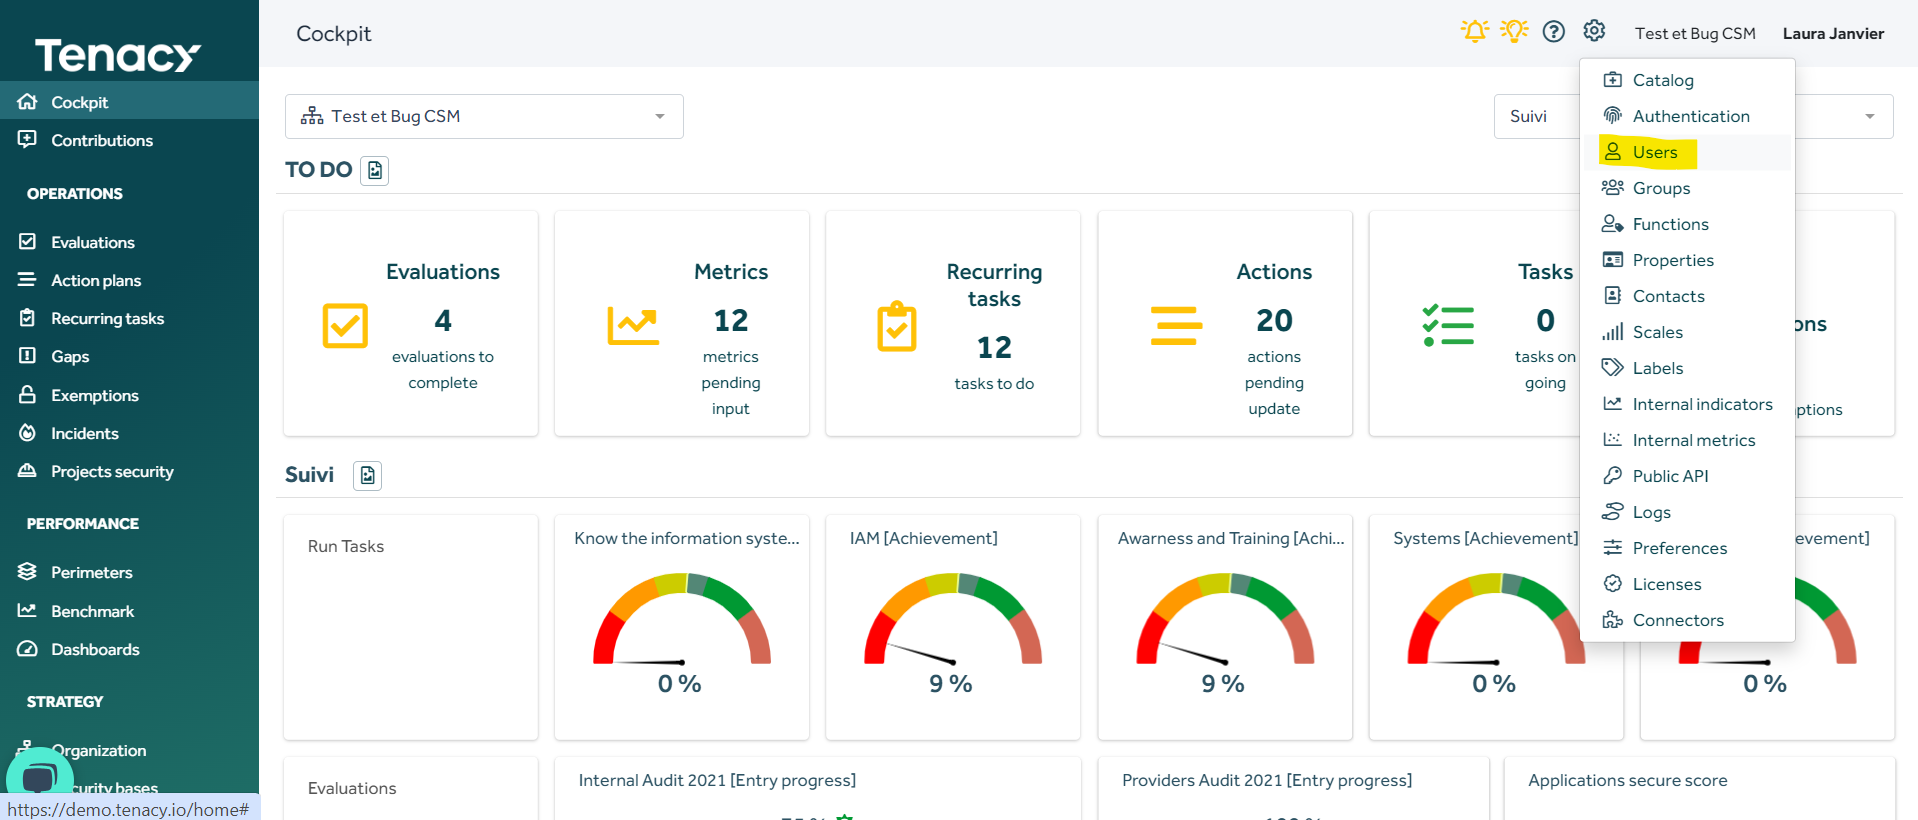
To create a user, go to ⚙️ Cogwheel > Users :
 > Click on Add user :
.png) > Select the type of user (internal or external to your organisation) :
> Select the type of user (internal or external to your organisation) :
.png) > Fill in the desired characteristics > Save :
> Fill in the desired characteristics > Save :
.png) > Once the user has been created, you can send them access by e-mail by clicking on "Send invitation":
> Once the user has been created, you can send them access by e-mail by clicking on "Send invitation":
.png?width=688&height=296&name=Untitled%20(11).png)
3. Can we restrict user access?
It is possible to modulate access and therefore certain rights of your users in Tenacy.
⚙️ Wheel > Users > Click on the concerned user > "Access" tab. Here you can restrict your user's access to certain objects in the solution by unchecking the corresponding boxes.
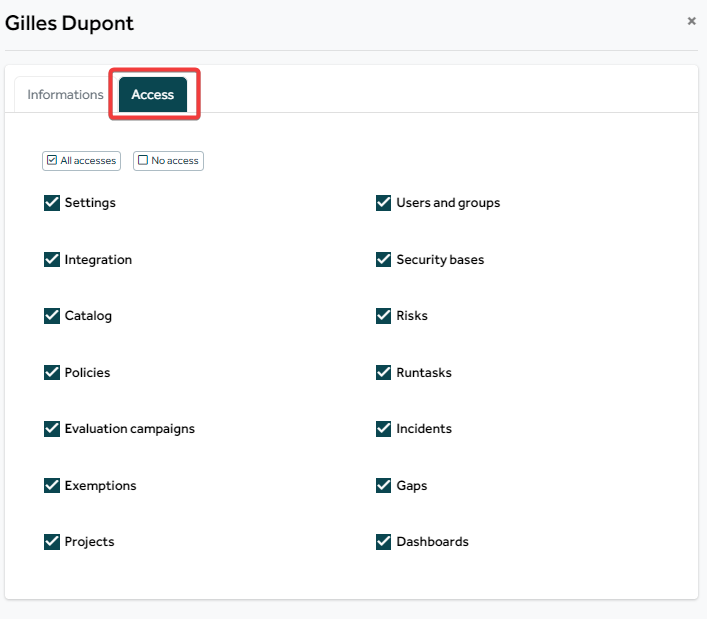
⚠️ A Pilot will always have access to :
- Cockpit
- Contributions
- Action plans
- Perimeters
4. How do you manage users?
The tool distinguishes between internal users and users external to your organisation, who are managed differently.
🔎 What is an external user?
This is a supplier or external consultant that you want to "invite" into Tenacy so that they can enter objects or view data in the tool. For example, you may need to evaluate your supplier on a repository and therefore provide them with access to Tenacy.
For users internal to your organisation, as the pilot, you can :
💡For traceability purposes, Tenacy does not allow the complete deletion of a user profile. You can detach it from your environment, deactivate it, archive it, etc. (see below).
- Archive a user ⇒ if you want to "delete" this user from your environment. It will then appear in the "archived" category.
- Disable a user ⇒ if you no longer want this user to have "temporary" access to your environment. It will then appear in the "disabled" category.
- Activate a user ⇒ if you want to restore access to a previously "disabled" user. It will then appear in the "enabled" category.
- Send an invitation ⇒ allows you to send an email inviting the user to access your environment instantly.
- Send a summary ⇒ allows you to send a weekly summary email to the user instantly.
- Reassign objects ⇒ if you deactivate a user, for example, you can first reassign the objects assigned to that user to other users, i.e. before "disable". The solution offers this by default if the user has objects assigned to them.
- Detaching a user ⇒ if you have inadvertently created an internal user when in fact it is an external user, you can permanently "detach" a user from your environment.
.png?width=688&height=293&name=Untitled%20(12).png)
For users external to your organisation, who are tagged as "guests" on your environment, as a driver, you can:
- Revoke access ⇒ if you no longer want this user to be able to access your environment "temporarily". Note that this user will then no longer be visible in the "enabled", "desabled" and "archived" categories.
- Restore access to a user ⇒ if you want to restore access to the previously "revoked" user. To do this, click "Add user" > "Grant access to external user". The solution finds the user via the email address entered. You then need to choose the attachment, role, function(s), group(s) and cockpit dashboard assigned to the user, as we consider that these may have changed since then.
- Send an invitation ⇒ allows you to send an email inviting the user to access your environment instantly.
- Send a summary ⇒ allows you to send a weekly summary email to the user instantly.
- Reassign objects ⇒ if you are "revoking access" for the user, you can first reassign the objects allocated to the user to other users, i.e. before "revoking" the user's access. The solution offers this by default if the user has objects assigned to him.
.png?width=688&height=296&name=Untitled%20(13).png)
⚠️ The major difference between the 2 types of user:
You cannot "enable / disable" an external user, but you can "revoke" their access and restore it at a later date as required. The "Enabled", "Disabled" and "Archived" categories are therefore only used for users internal to your organisation.
Contact support in case of any blocking issues to manage your users.