Summary :
Part 1 : How to model a policy ?
1. Create a policy "from scratch"
2. Create a "derivative" policy
3. Create a policy via an XLS import
Part 2 : How to assign a perimeter to a policy?
1.From "Organisation"
2.From "Policies"
Part 3 : Where to find my private policies ?
1. From the catalog
2. From "Policies"
Optional - Part 4 : How do I add a classification to my private policy ?
Part 1 : How to model a policy ?
If you don't use a policy modeled by the Tenacy teams, you can model a policy yourself.
🔎 Many repositories are already available in our catalog. If you do not agree with our modeling or if you cannot find one of your repositories, contact us, our team may already be working on it !
1. Create a policy "from scratch"
1.1 Add a policy
This first step aims to create a new policy in your catalog.
To do this, go to the wheel ⚙️> ![]() Catalog then click on "add a policy"
Catalog then click on "add a policy"
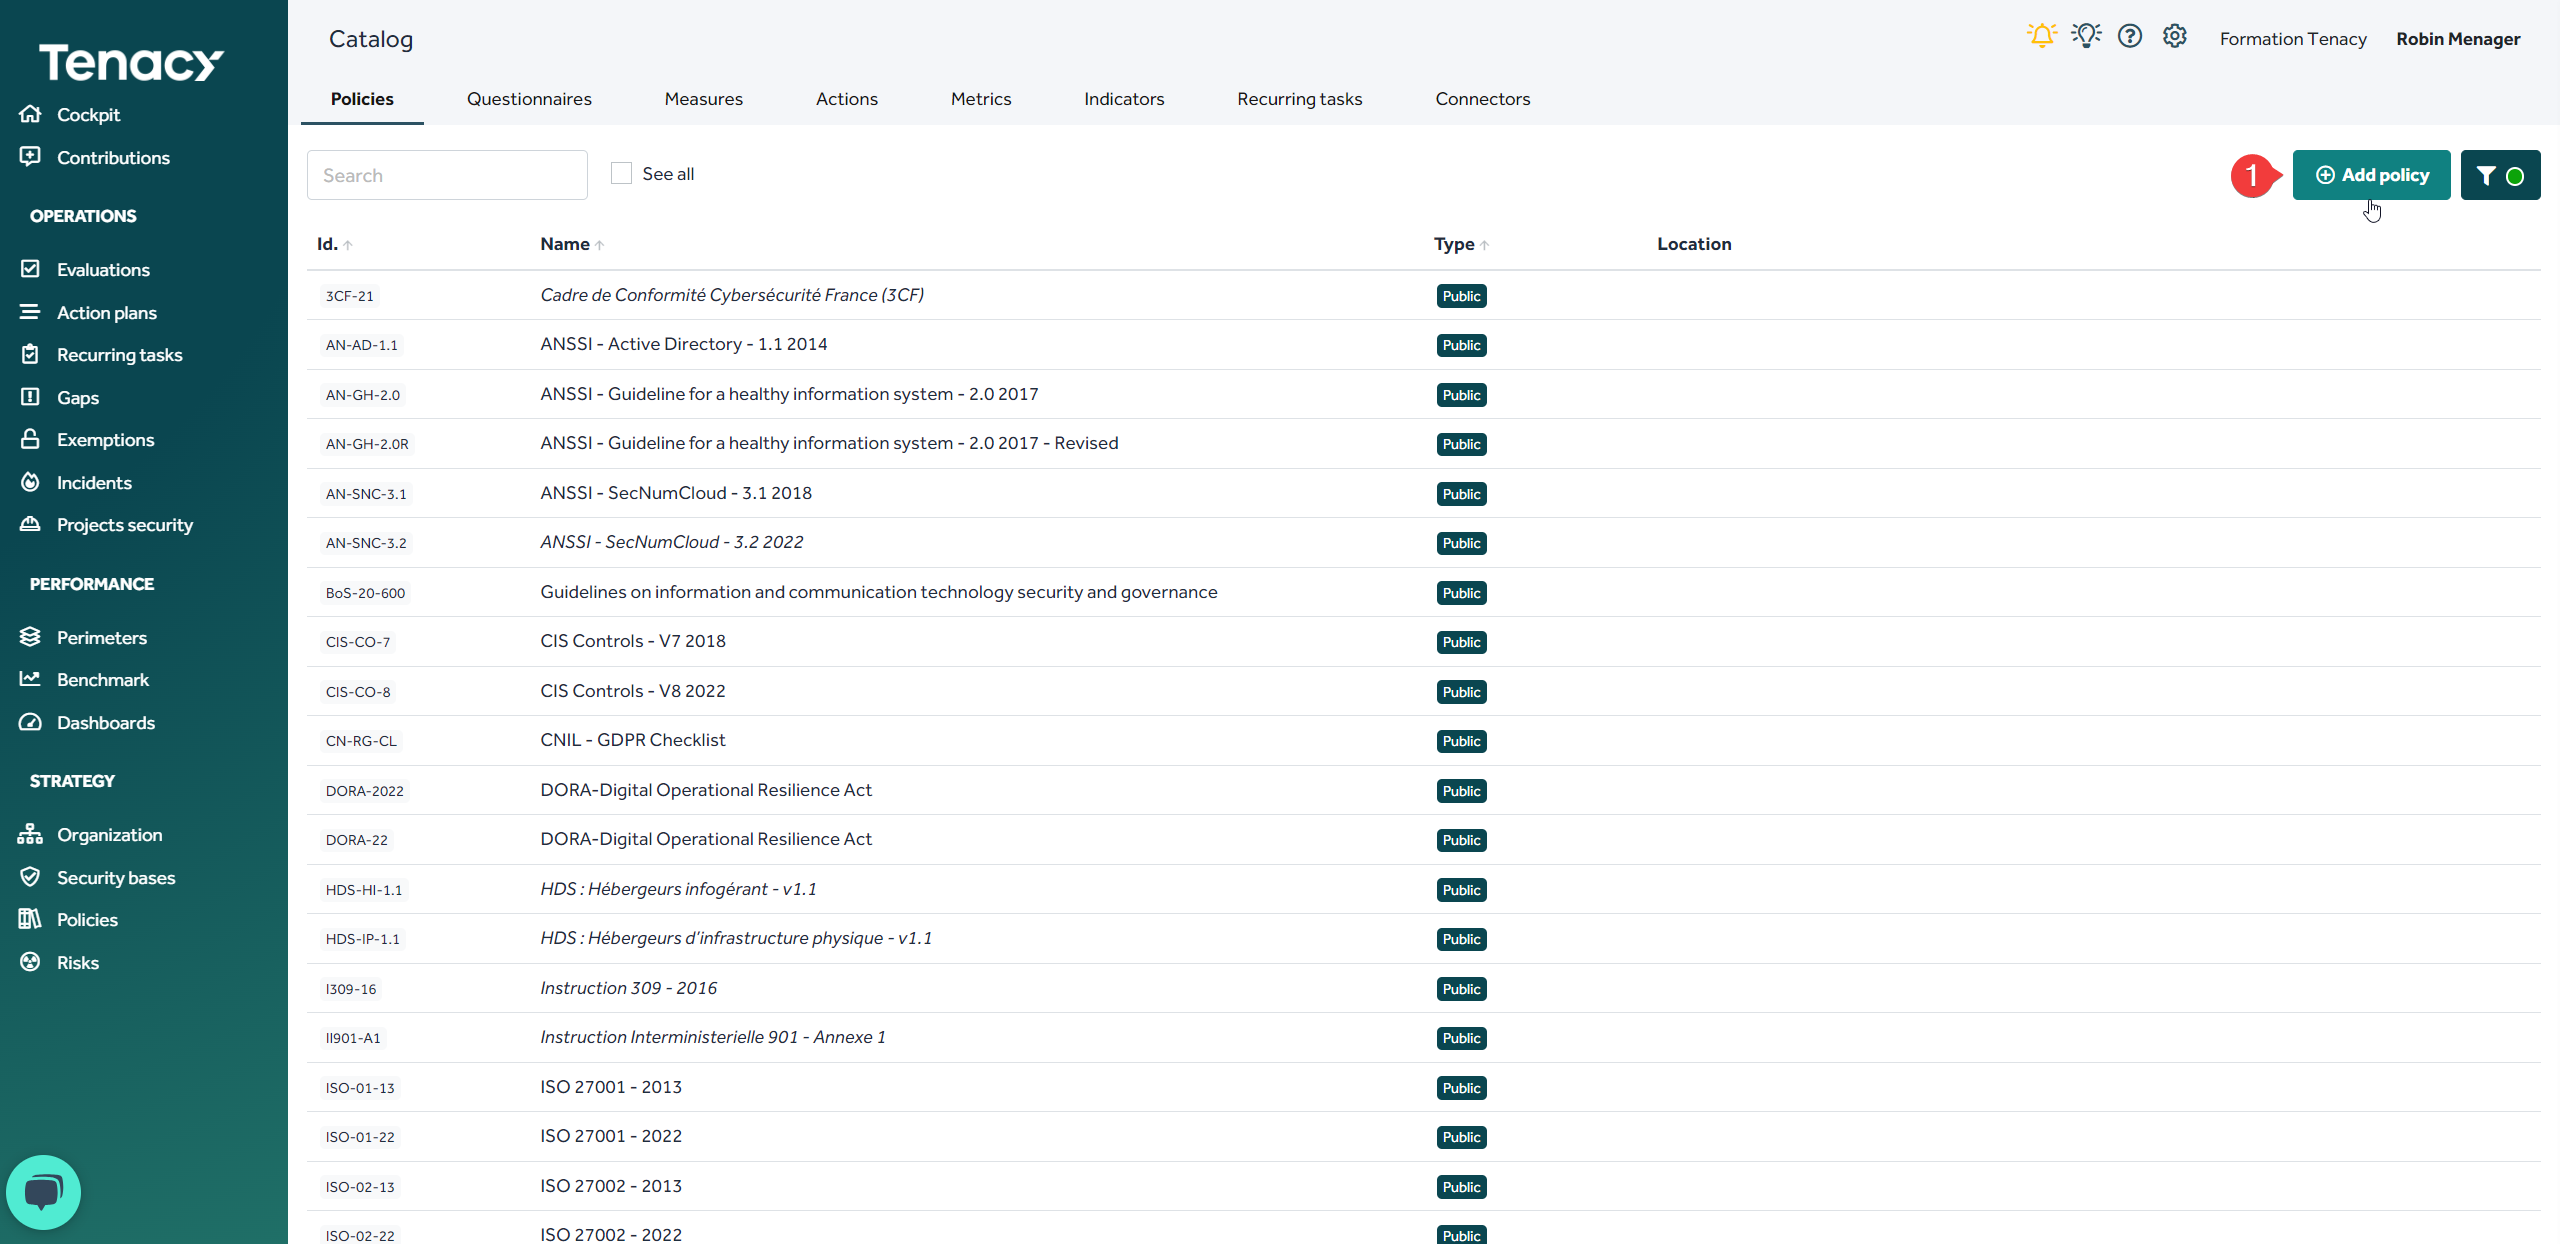
To add a policy, it is mandatory to give it a name.
If necessary you can add a priority scale to it.
💡The priority scale will be used to tag the controls of your policy to affect only a subset of them on your perimeters as well as to filter the controls in order of priority or, during an evaluation, to submit only some of the controls according to the priority scale defined when setting up your campaign.
This element is optional - you can view its use in one of the public policies that offers it: TISAX-5.1 or France Cybersecurity Compliance Framework (3CF).
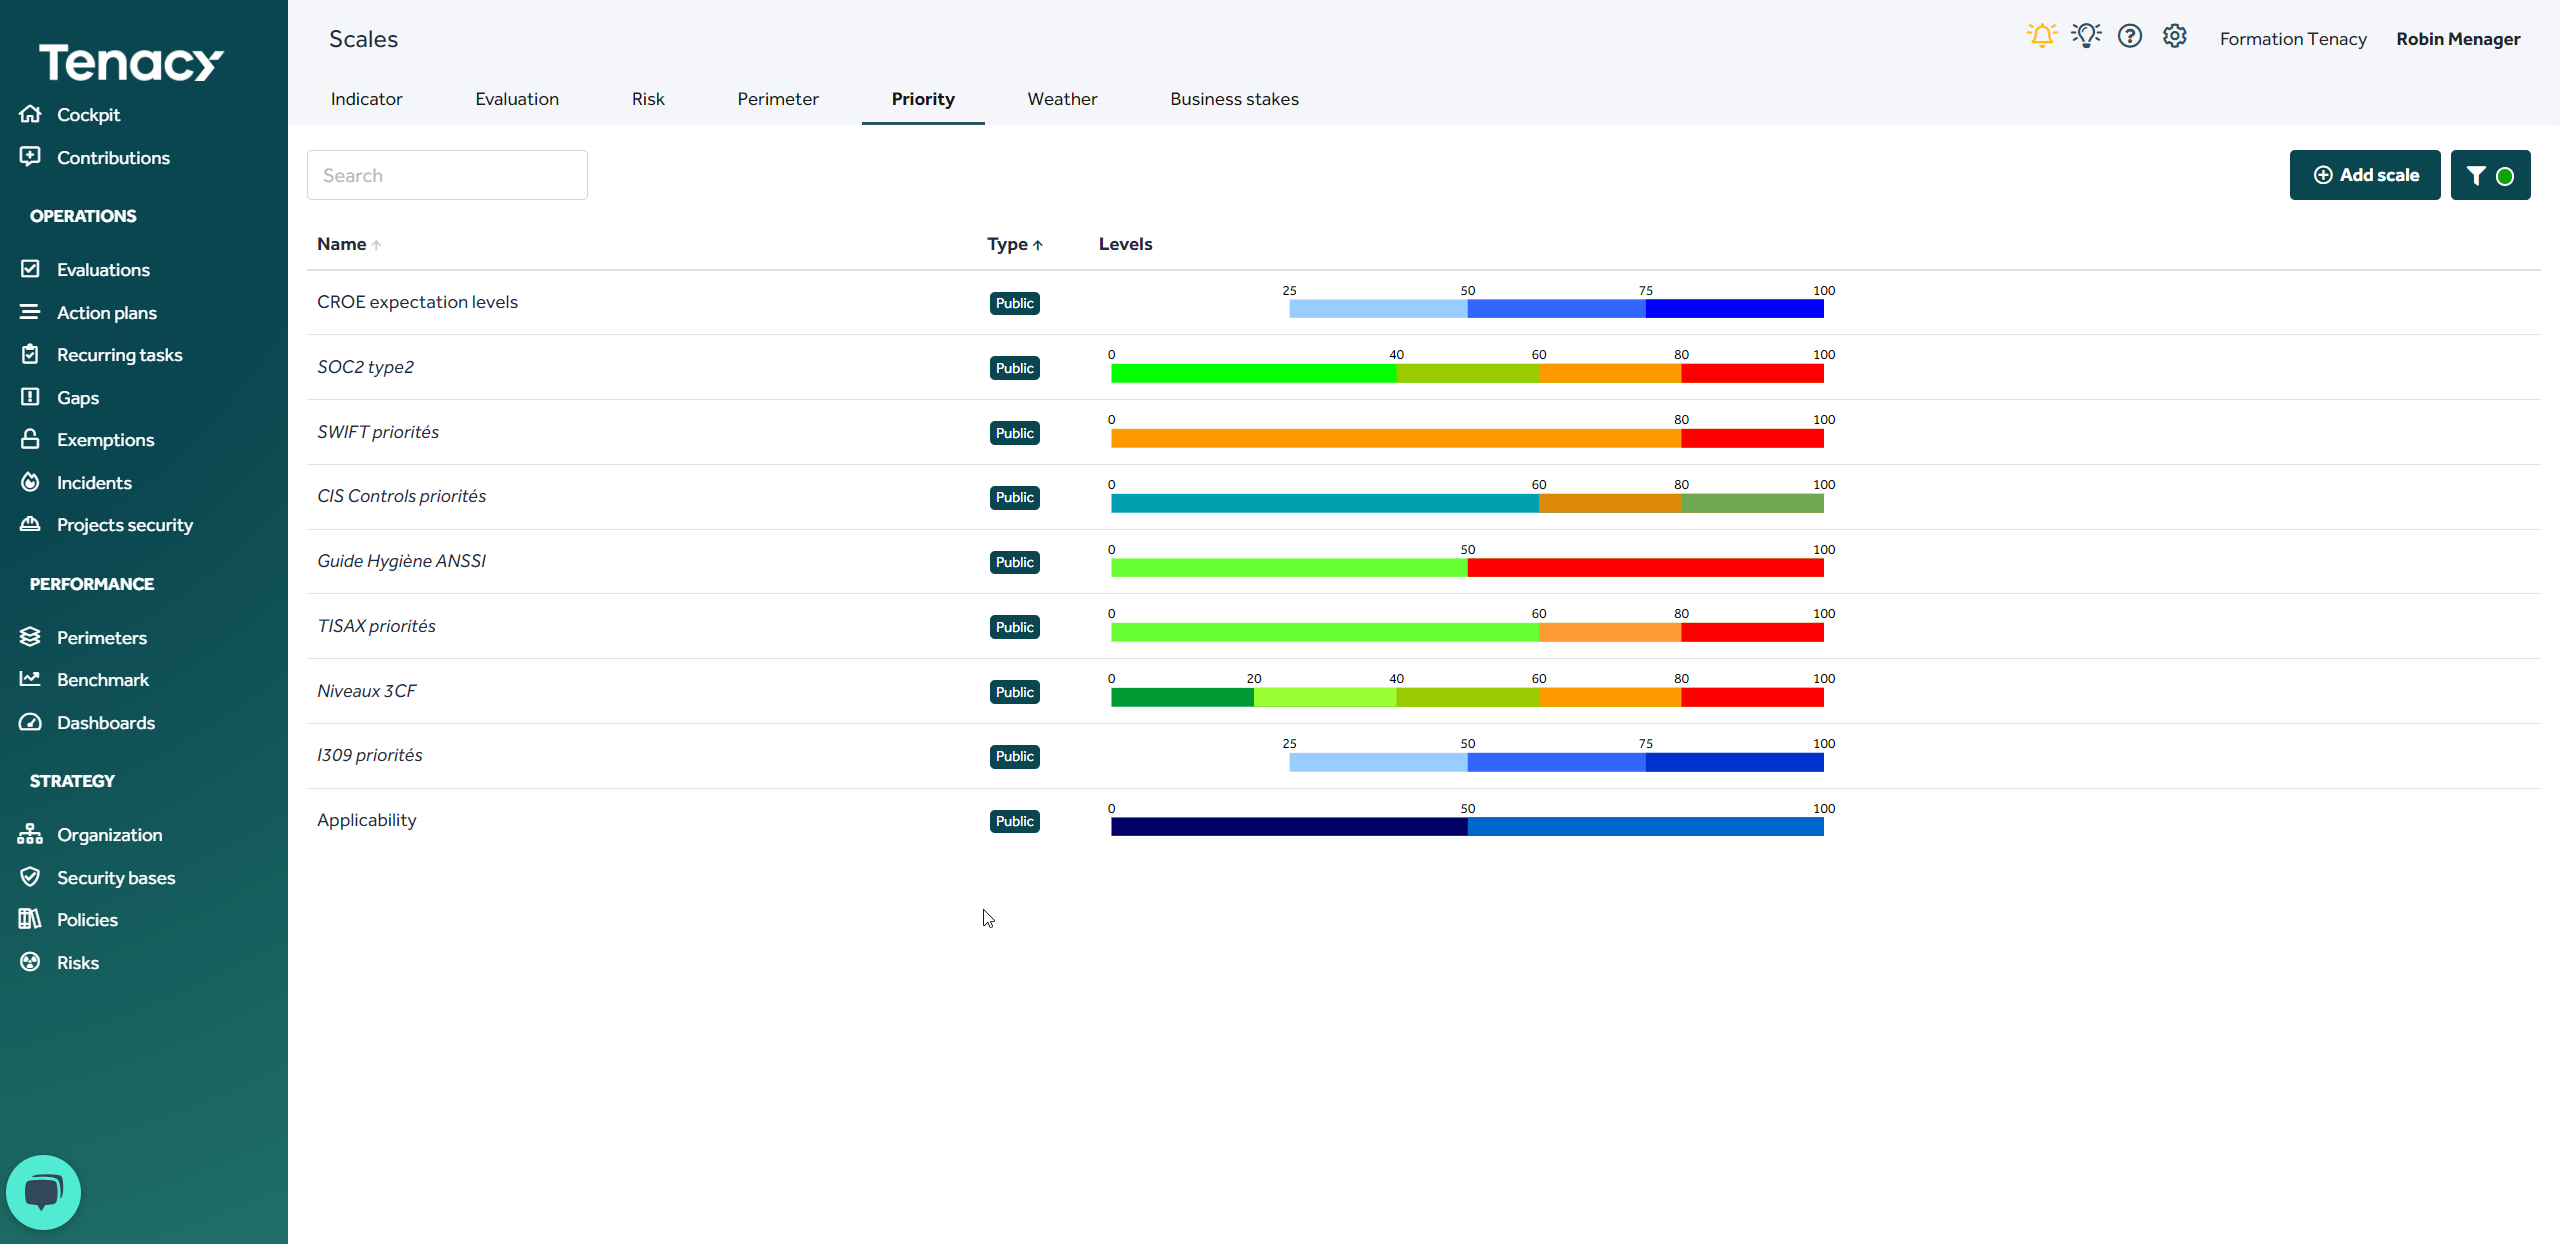
Examples of priority scales modeled in your catalog

Now you can edit from your catalog the policy you want to add your priority scale.
1.2. Create controls groups
Once your policy has been created, it will appear empty. The first step will therefore be to create groups of controls that can be assimilated to chapters.
In terms of reporting, you will be able to obtain a compliance score for each chapter.
🔎 The solution only offers one level of chaptering: if you want to go further in the reporting you will have to use the classifications.

1.3. Create controls
Once your control group is created, you can create controls corresponding to the repository you want to model.

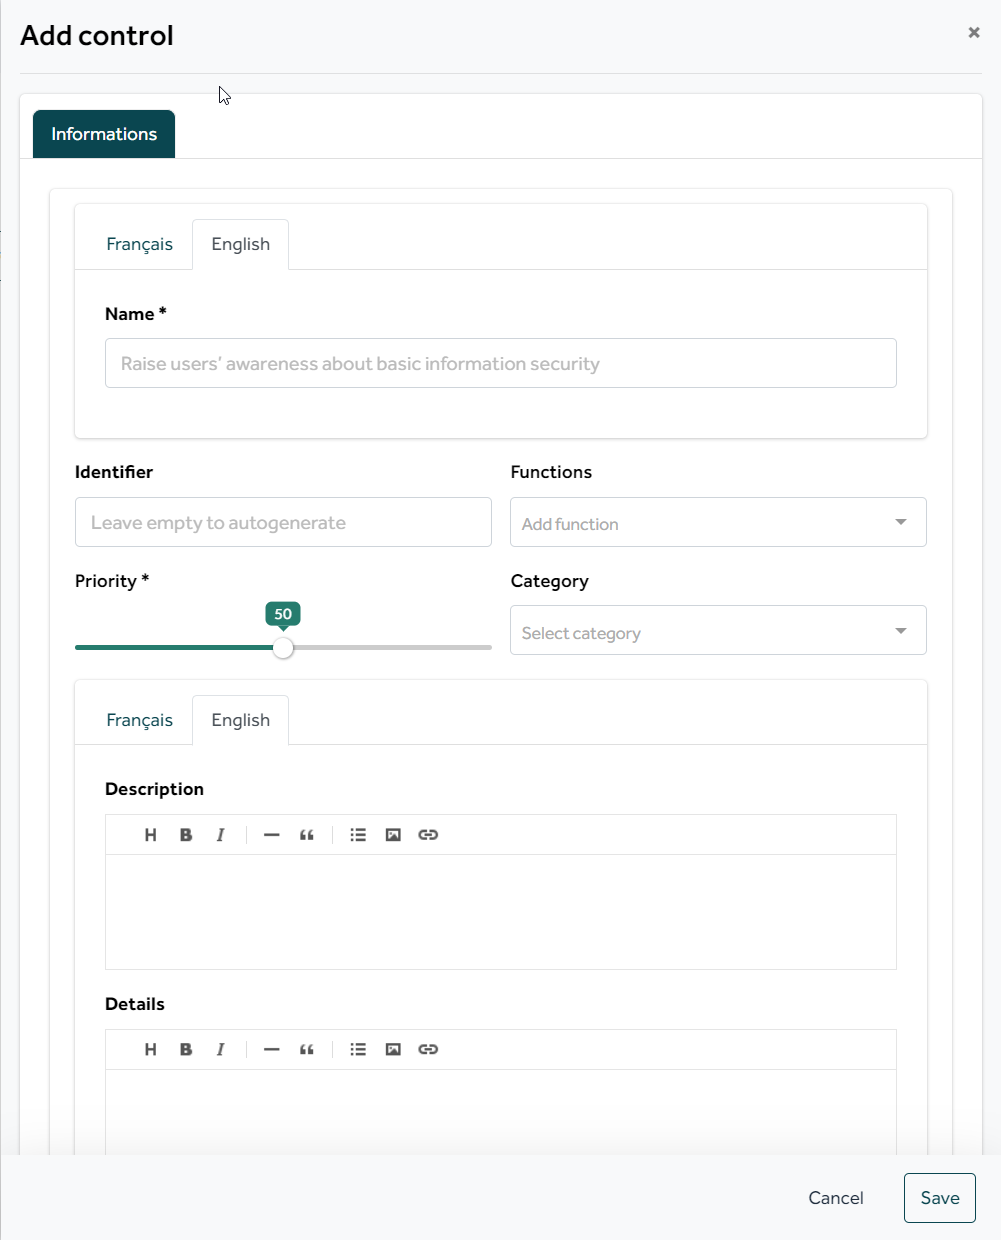
Several fields are available :
Name: Name of your control
Identifier: Internal ID, we advise you to leave it empty for automatic generation.
Functions: Functions allow the different controls of a security policy to be distributed among different populations. It is common to have in a general policy controls that concern IT, but also HR, Legal, Communication, etc. Thus during an evaluation, the user in charge of answering will only see those corresponding to his function as well as the controls that had no function assigned.
Priority: If you have chosen a priority scale, you can choose a level corresponding to this scale.
🔎 Priority has two use:
1. function: allowing you to display certain controls according to the type of priority selected
2. association: to associate only part of the controls of a policy with your perimeters.
If you have not selected any priority scale, a "standard" scale will appear. By default, your control will have a priority of 50. You can always modify the value, however this standard scale will only have the filter function available, you will not be able to associate controls from your policy with perimeters in relation to the value of this scale.
Short description: We advise you to make a brief summary of the control (main objectives)
Long description: We advise you to make an exhaustive summary of the controls. The descriptions are notably present during the evaluation, this allows the assessor to clearly understand what you expect of him.
Solution: We recommend that you suggest implementation items.
References: You are free to add information relating to the origins of the controls.
1.4. Optional - Add a condition to your controls
Once your controls has been created, you can edit it. A "condition" tab is available.
The conditions allow you to make some controls visible following a questionnaire previously completed during an evaluation.
Link to ther article about the setup of questionnaires
Example :
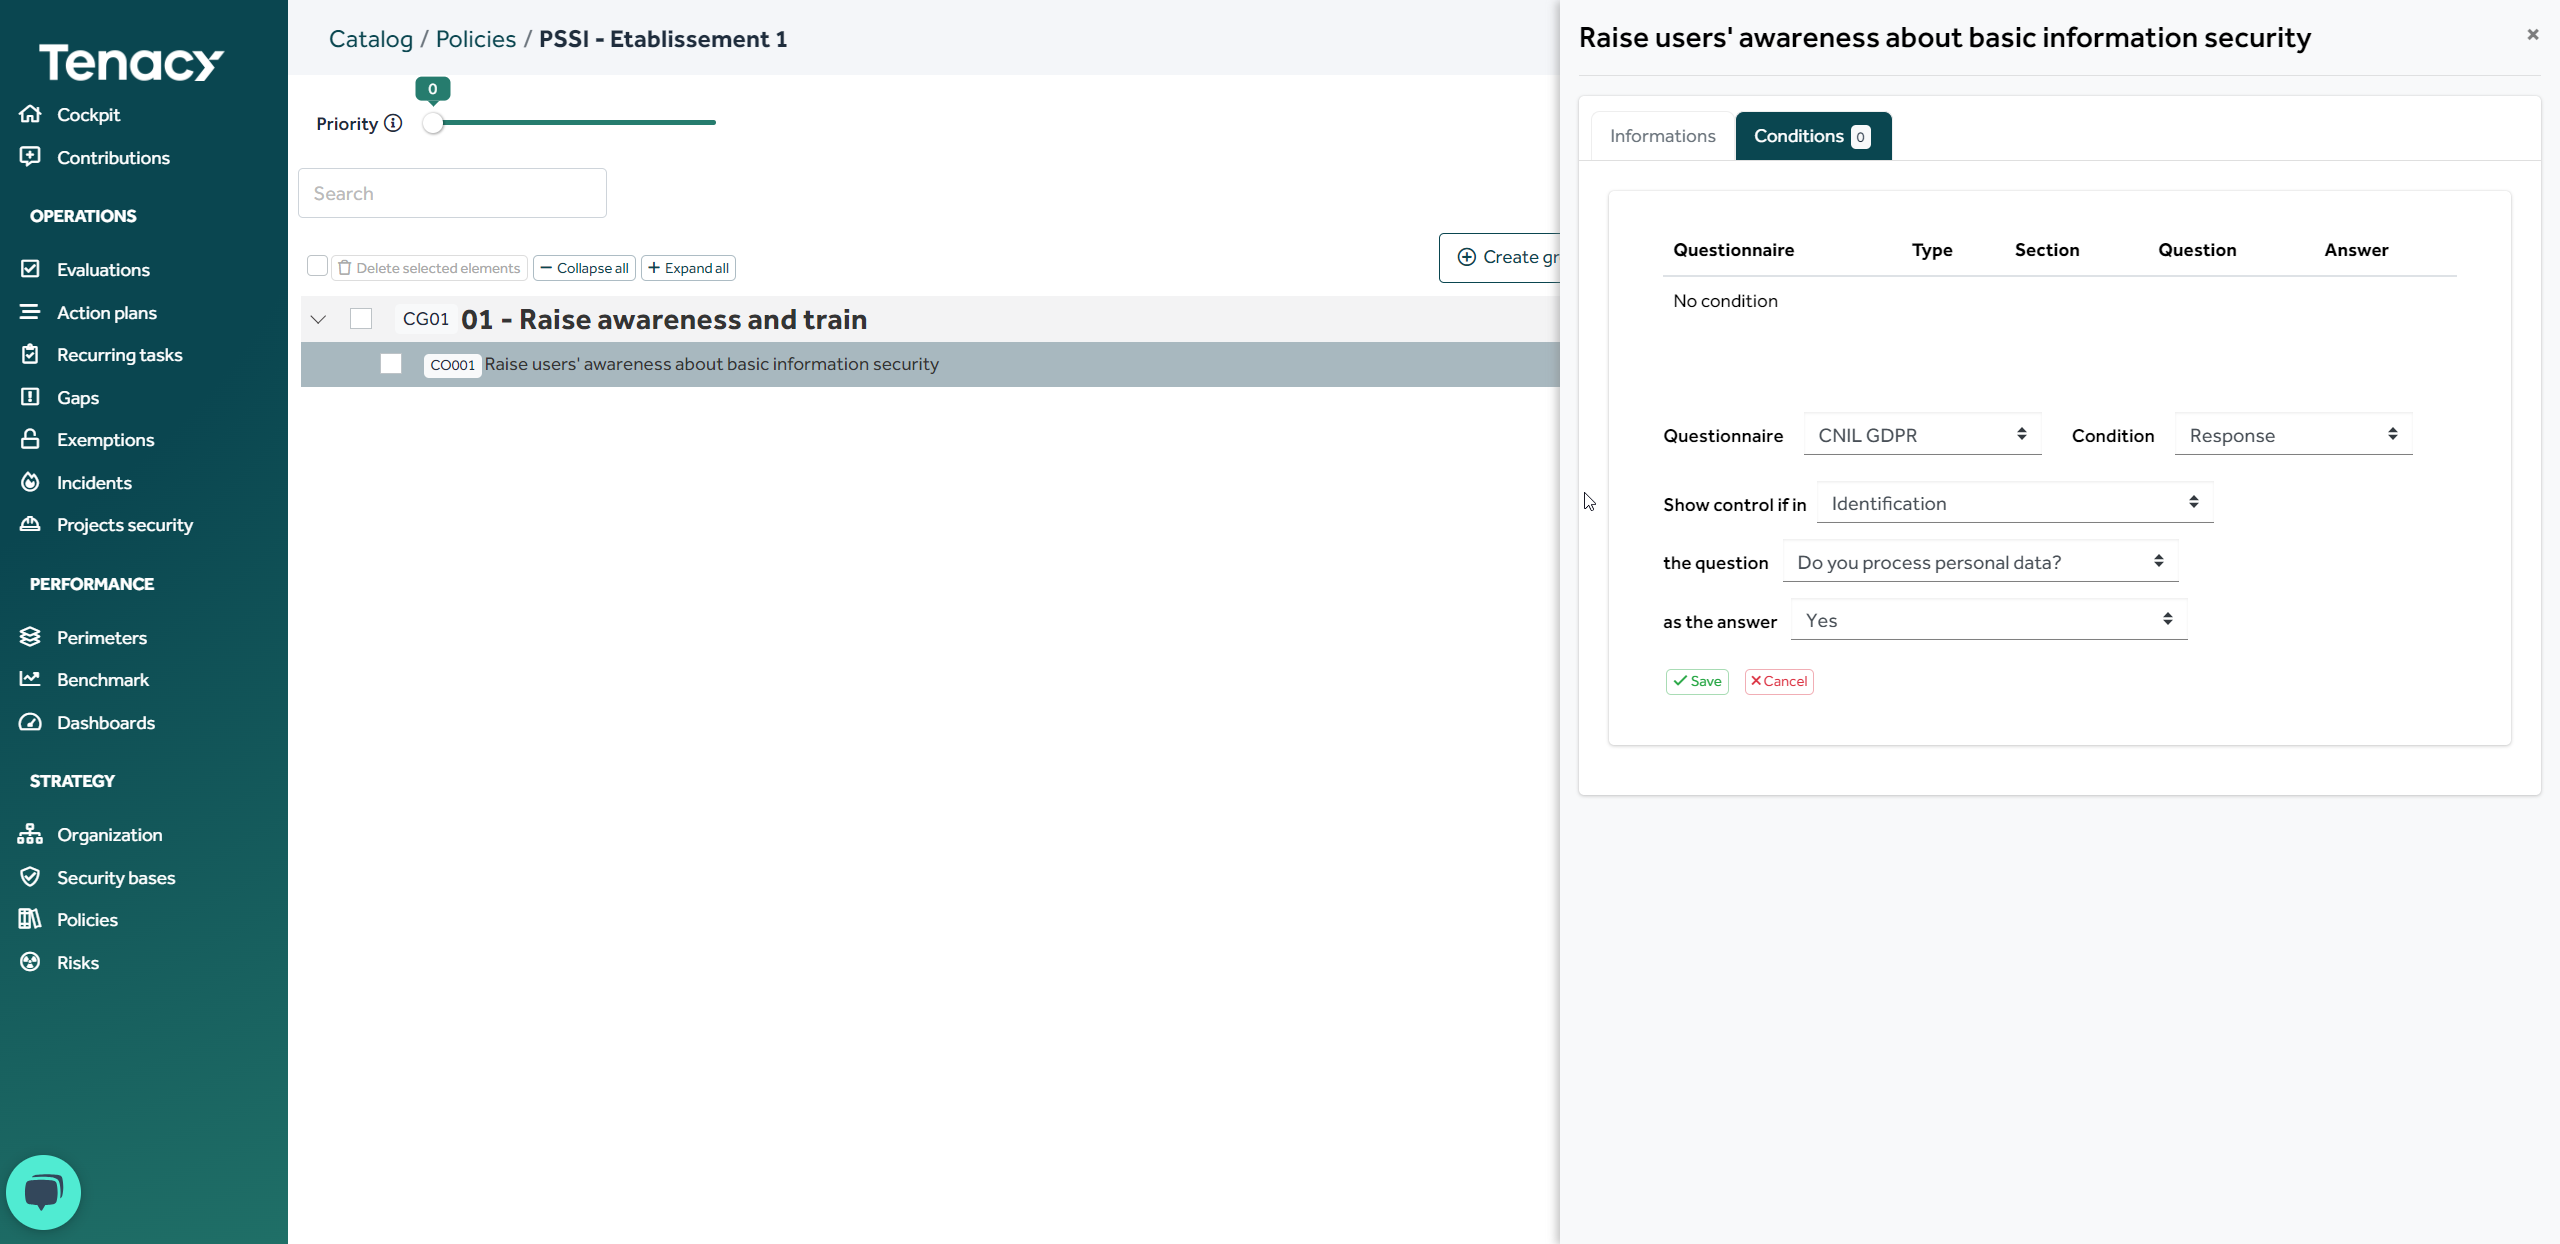
In addition to the priority which makes it possible to select the control applicable to a perimeter, it is possible for each control to specify the conditions of application. These conditions are linked to questionnaires and, if there are several, are combined with an OR: if a condition is true then the control is applicable.
If one or more conditions are selected, then the control is applicable if at least one of the conditions is true, which assumes that the scope has responded to at least one questionnaire.
In our example, the control "Raise awareness about users..." will apply to the perimeter having answered "Yes" to the question "Do you process personnal data" from the questionnaire "GDRP".
According to the answers given during a questionnaire, certain controls will be applicable (and therefore accessible to evaluate it) according to this configuration and according to its answers to the questionnaire.
1.5. Model the coverage of your controls by measures
Once your controls has been created and in order to monitor your compliance, you will need to come and propose measures to cover it.
Link to the article about the funtioning of measures
🔎 It's about translating the security control into an operational means of compliance.
"What must be done to meet the requirement?"
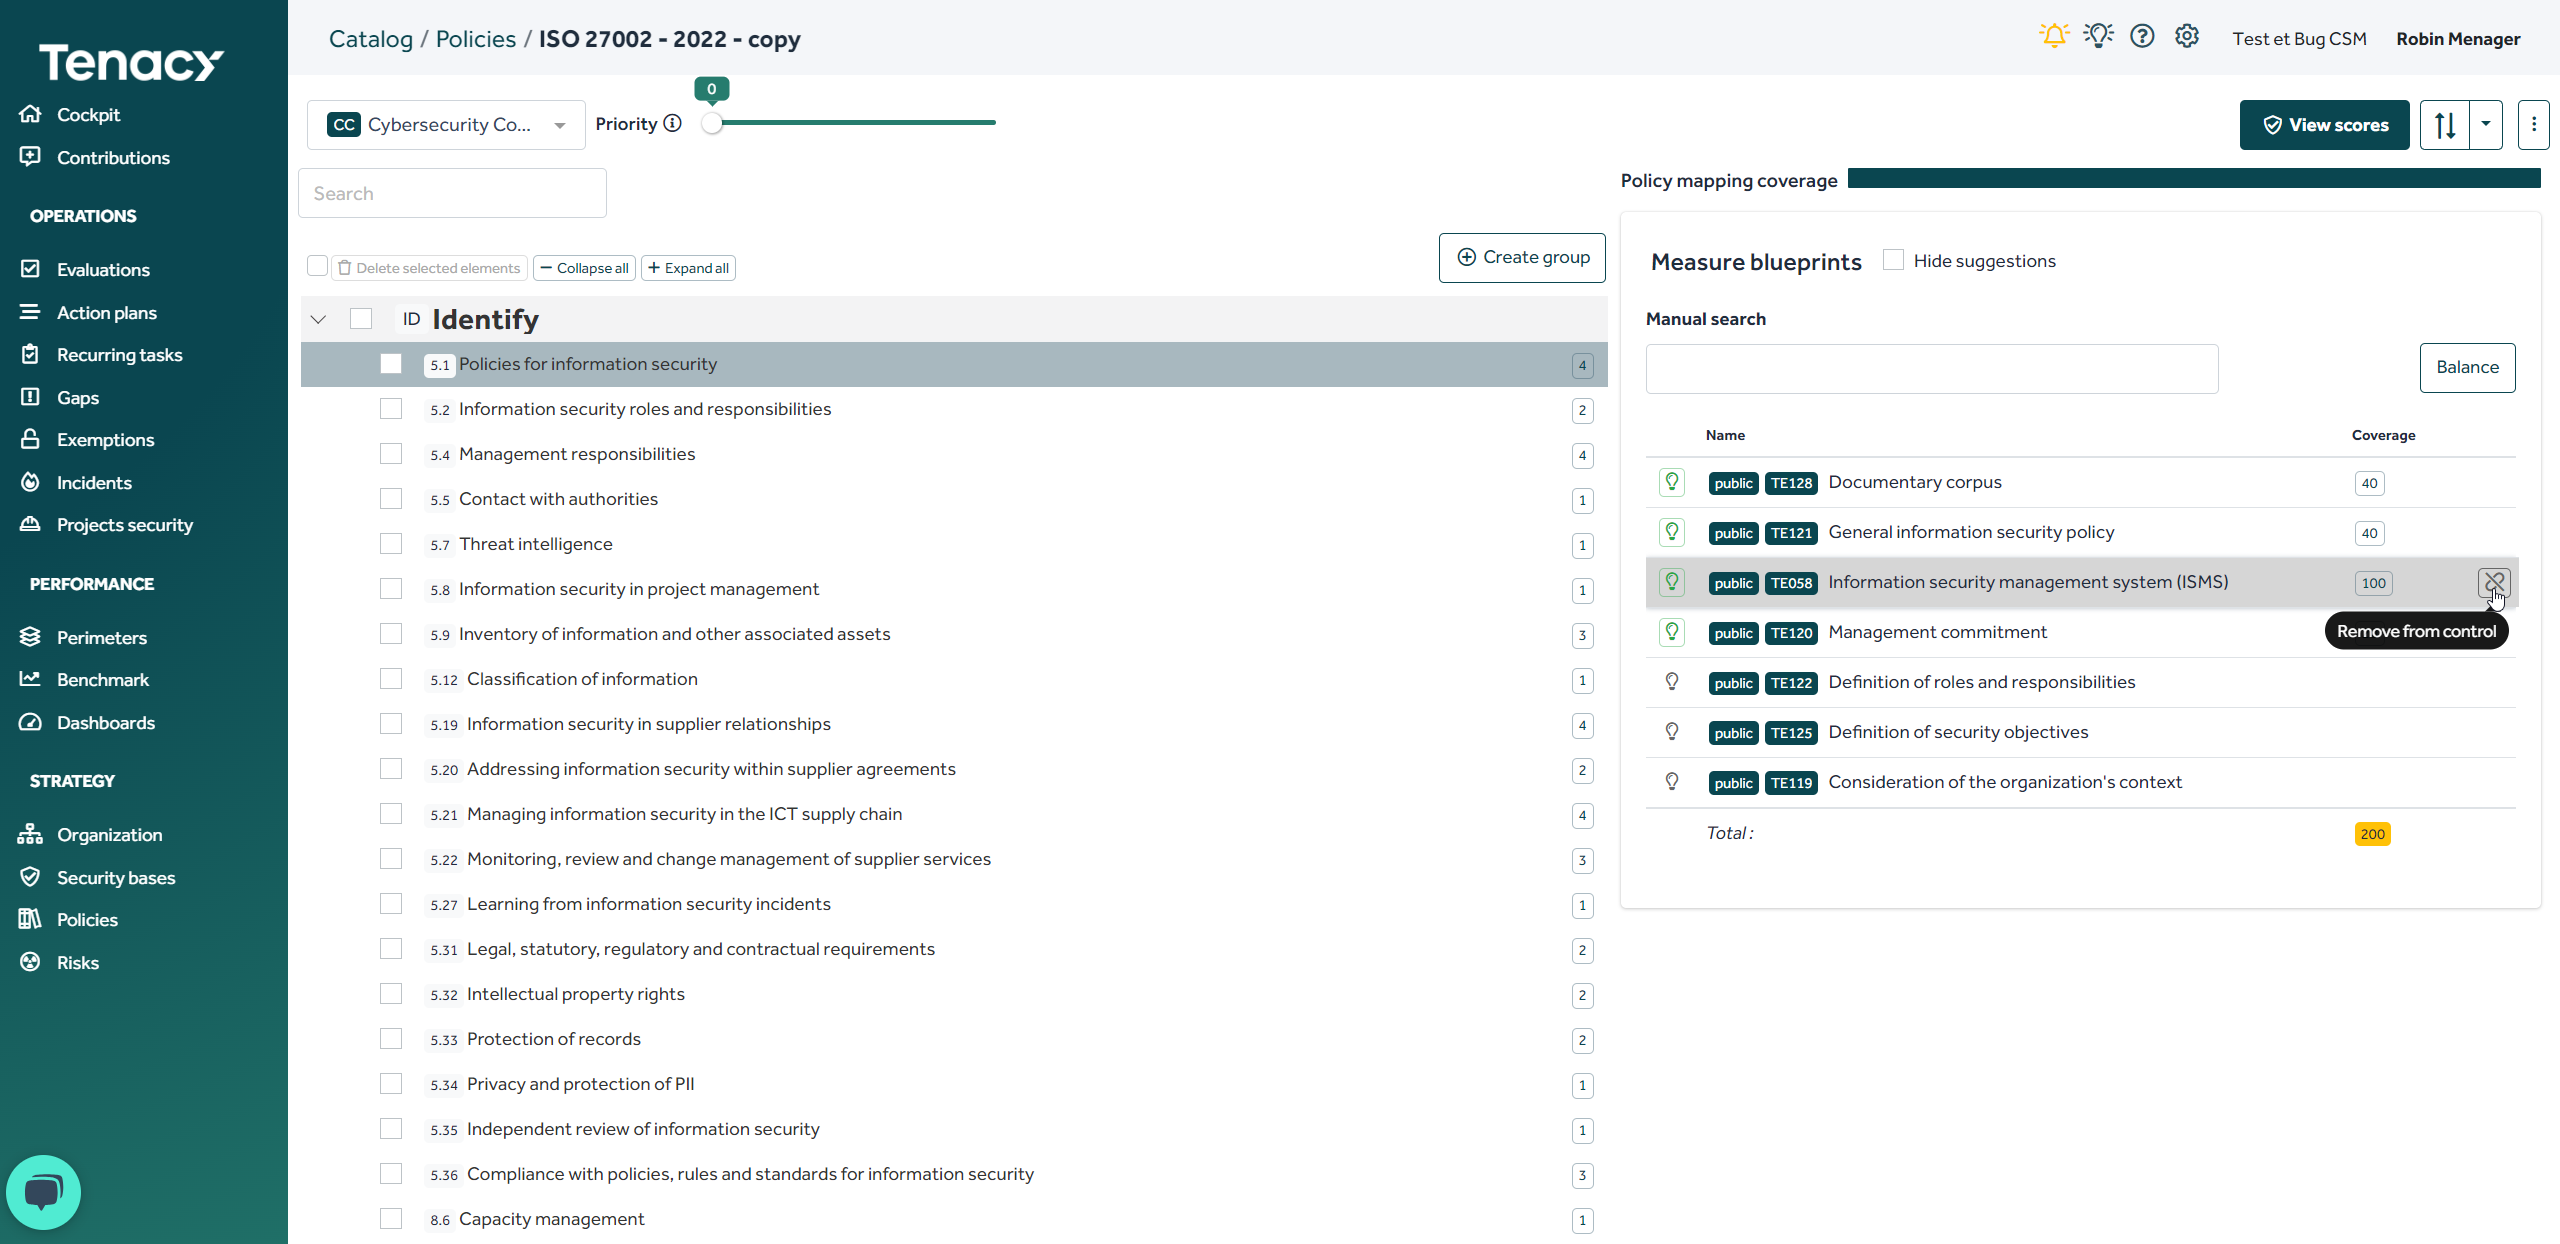
To do this, click on the "0" at the end of your control
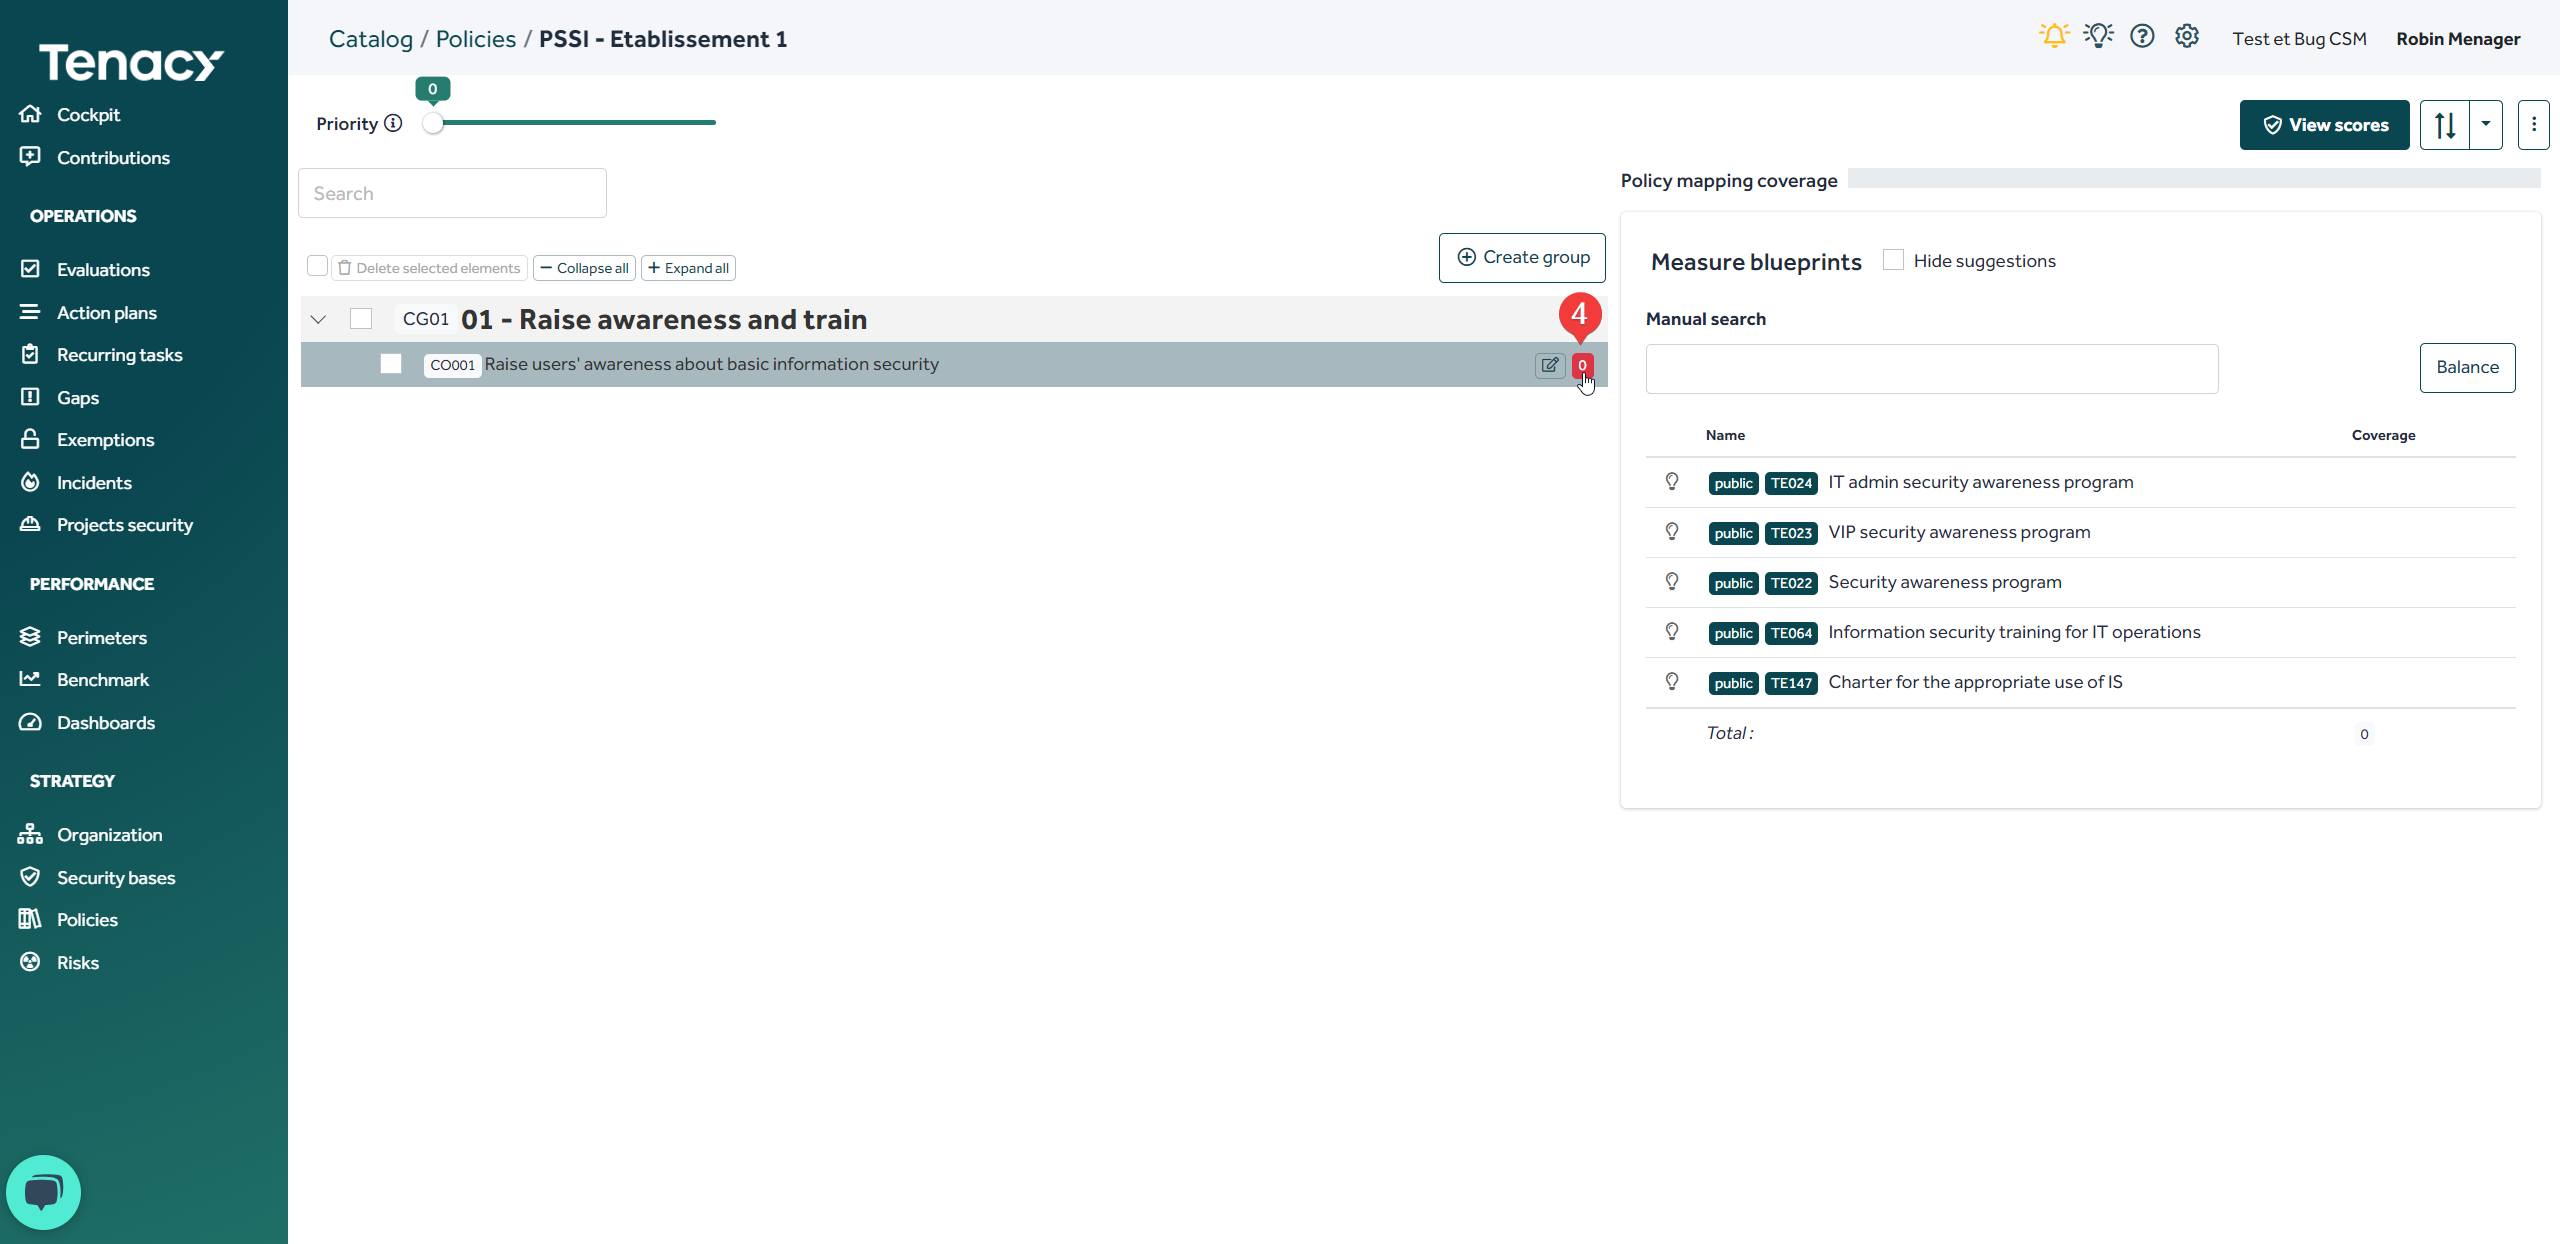
The solution automatically suggests (NLP) measures related to the name of your control. You can still perform a manual search within our catalog.
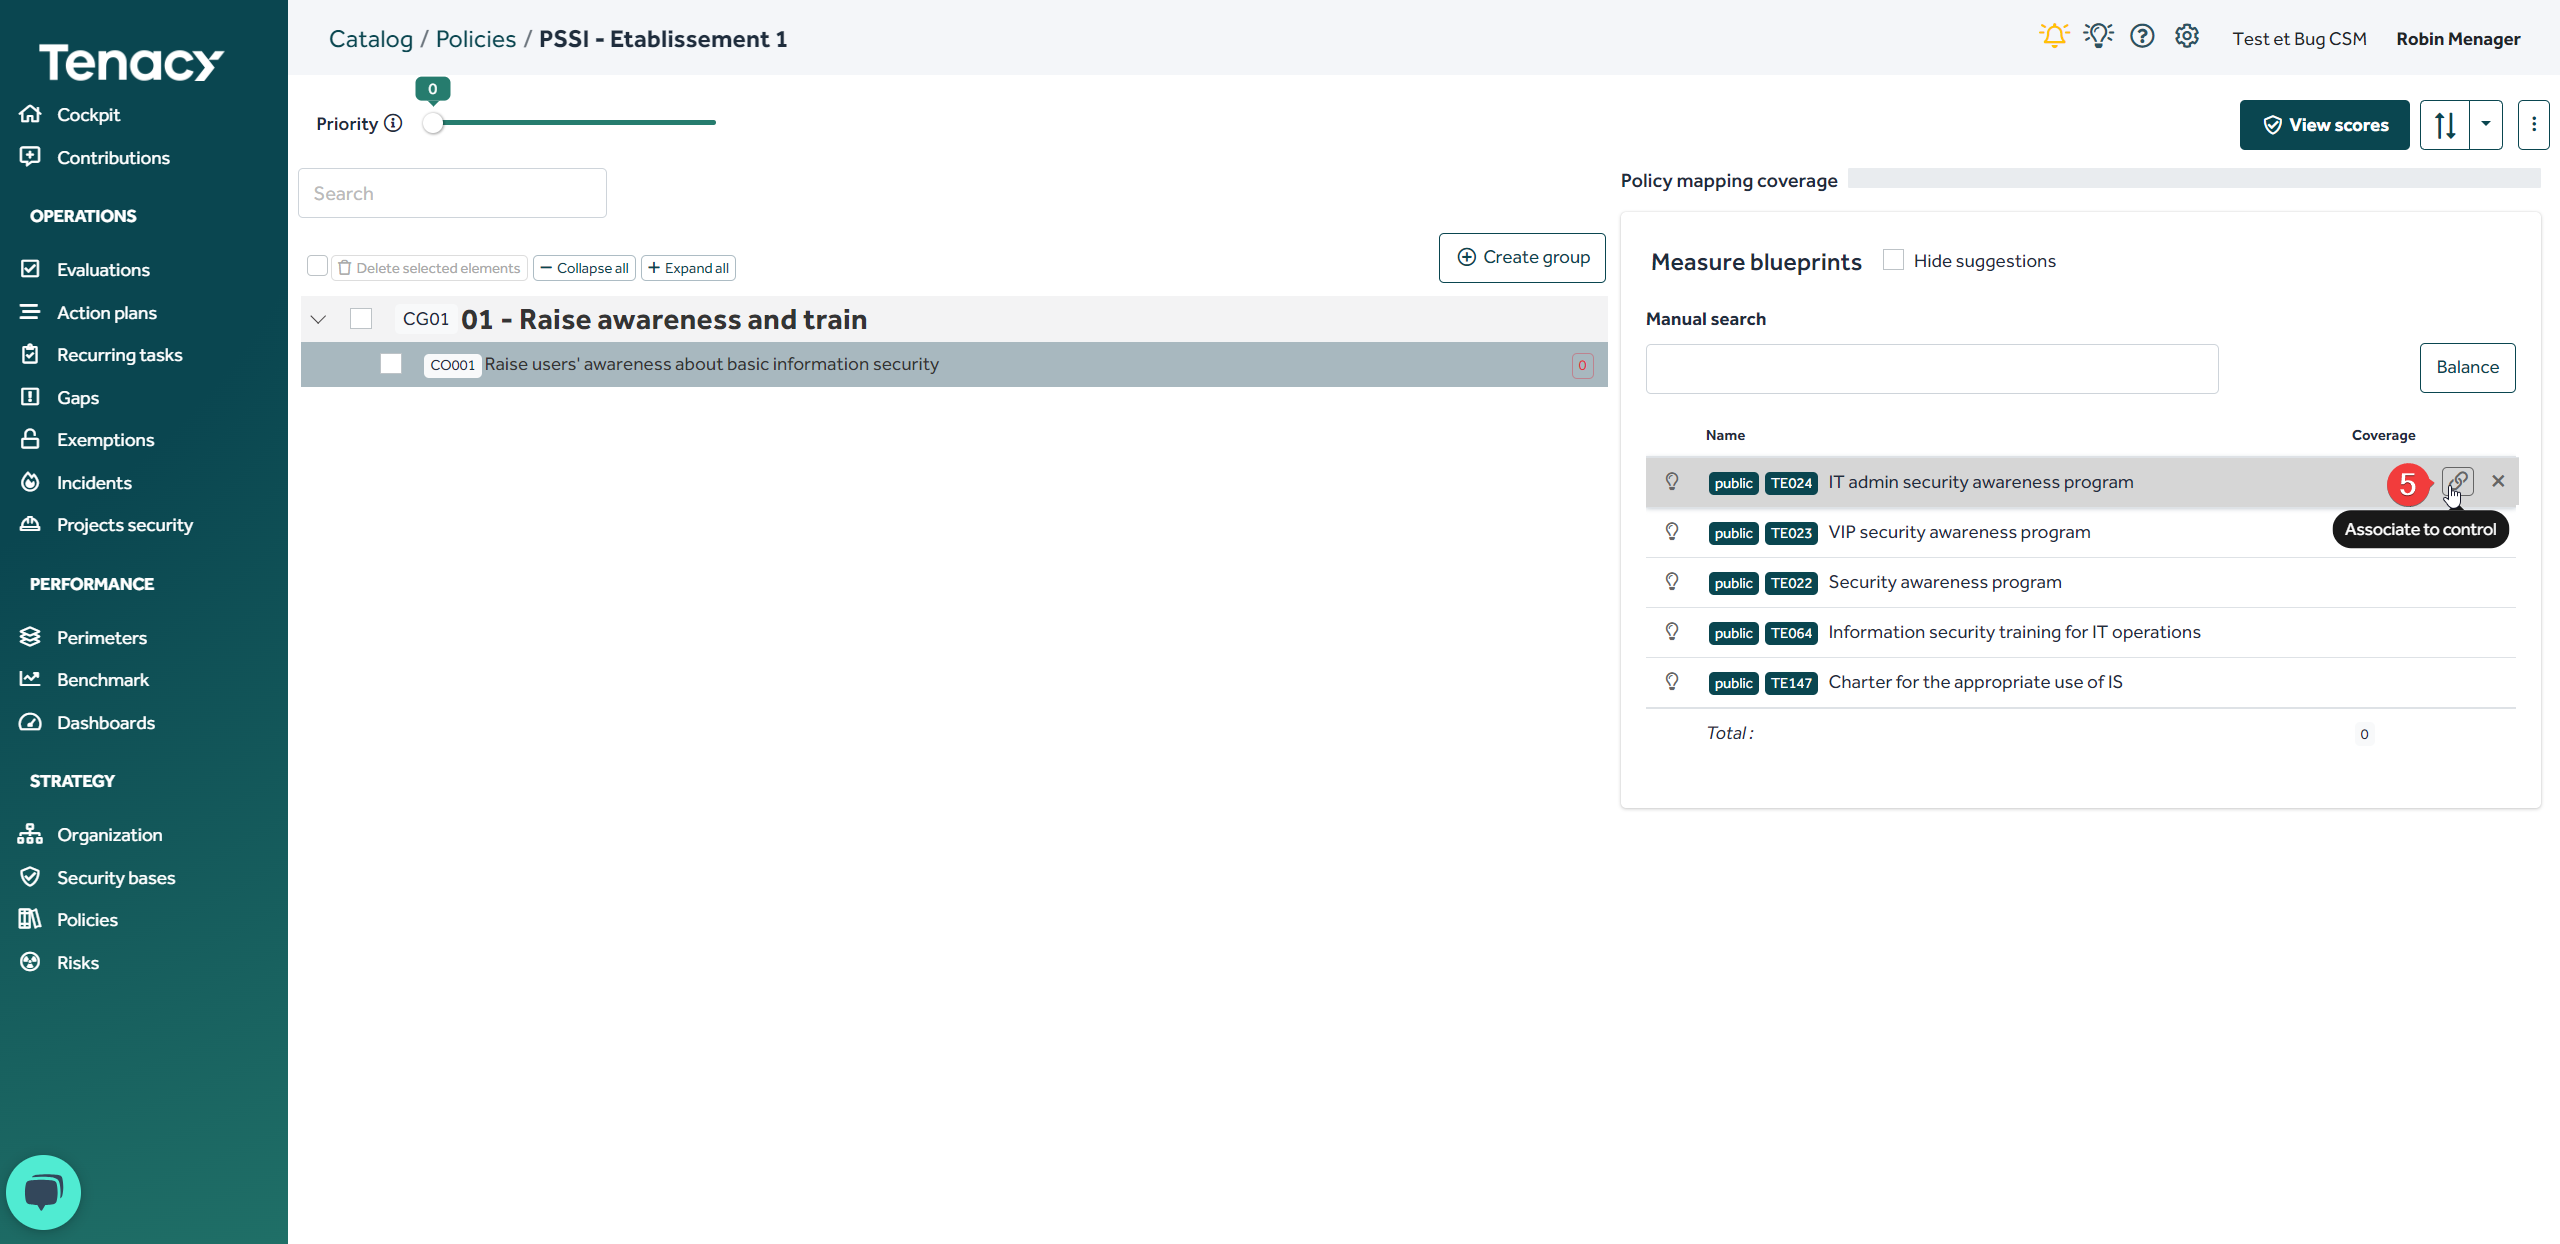
Click on "associate to control" to associate the measure.
By default, any measure linked to a coverage has a rate of 100. This means that when the measure is in place (in run) on the perimeter "100%" of the control is covered. You can add as many measuresnas needed.
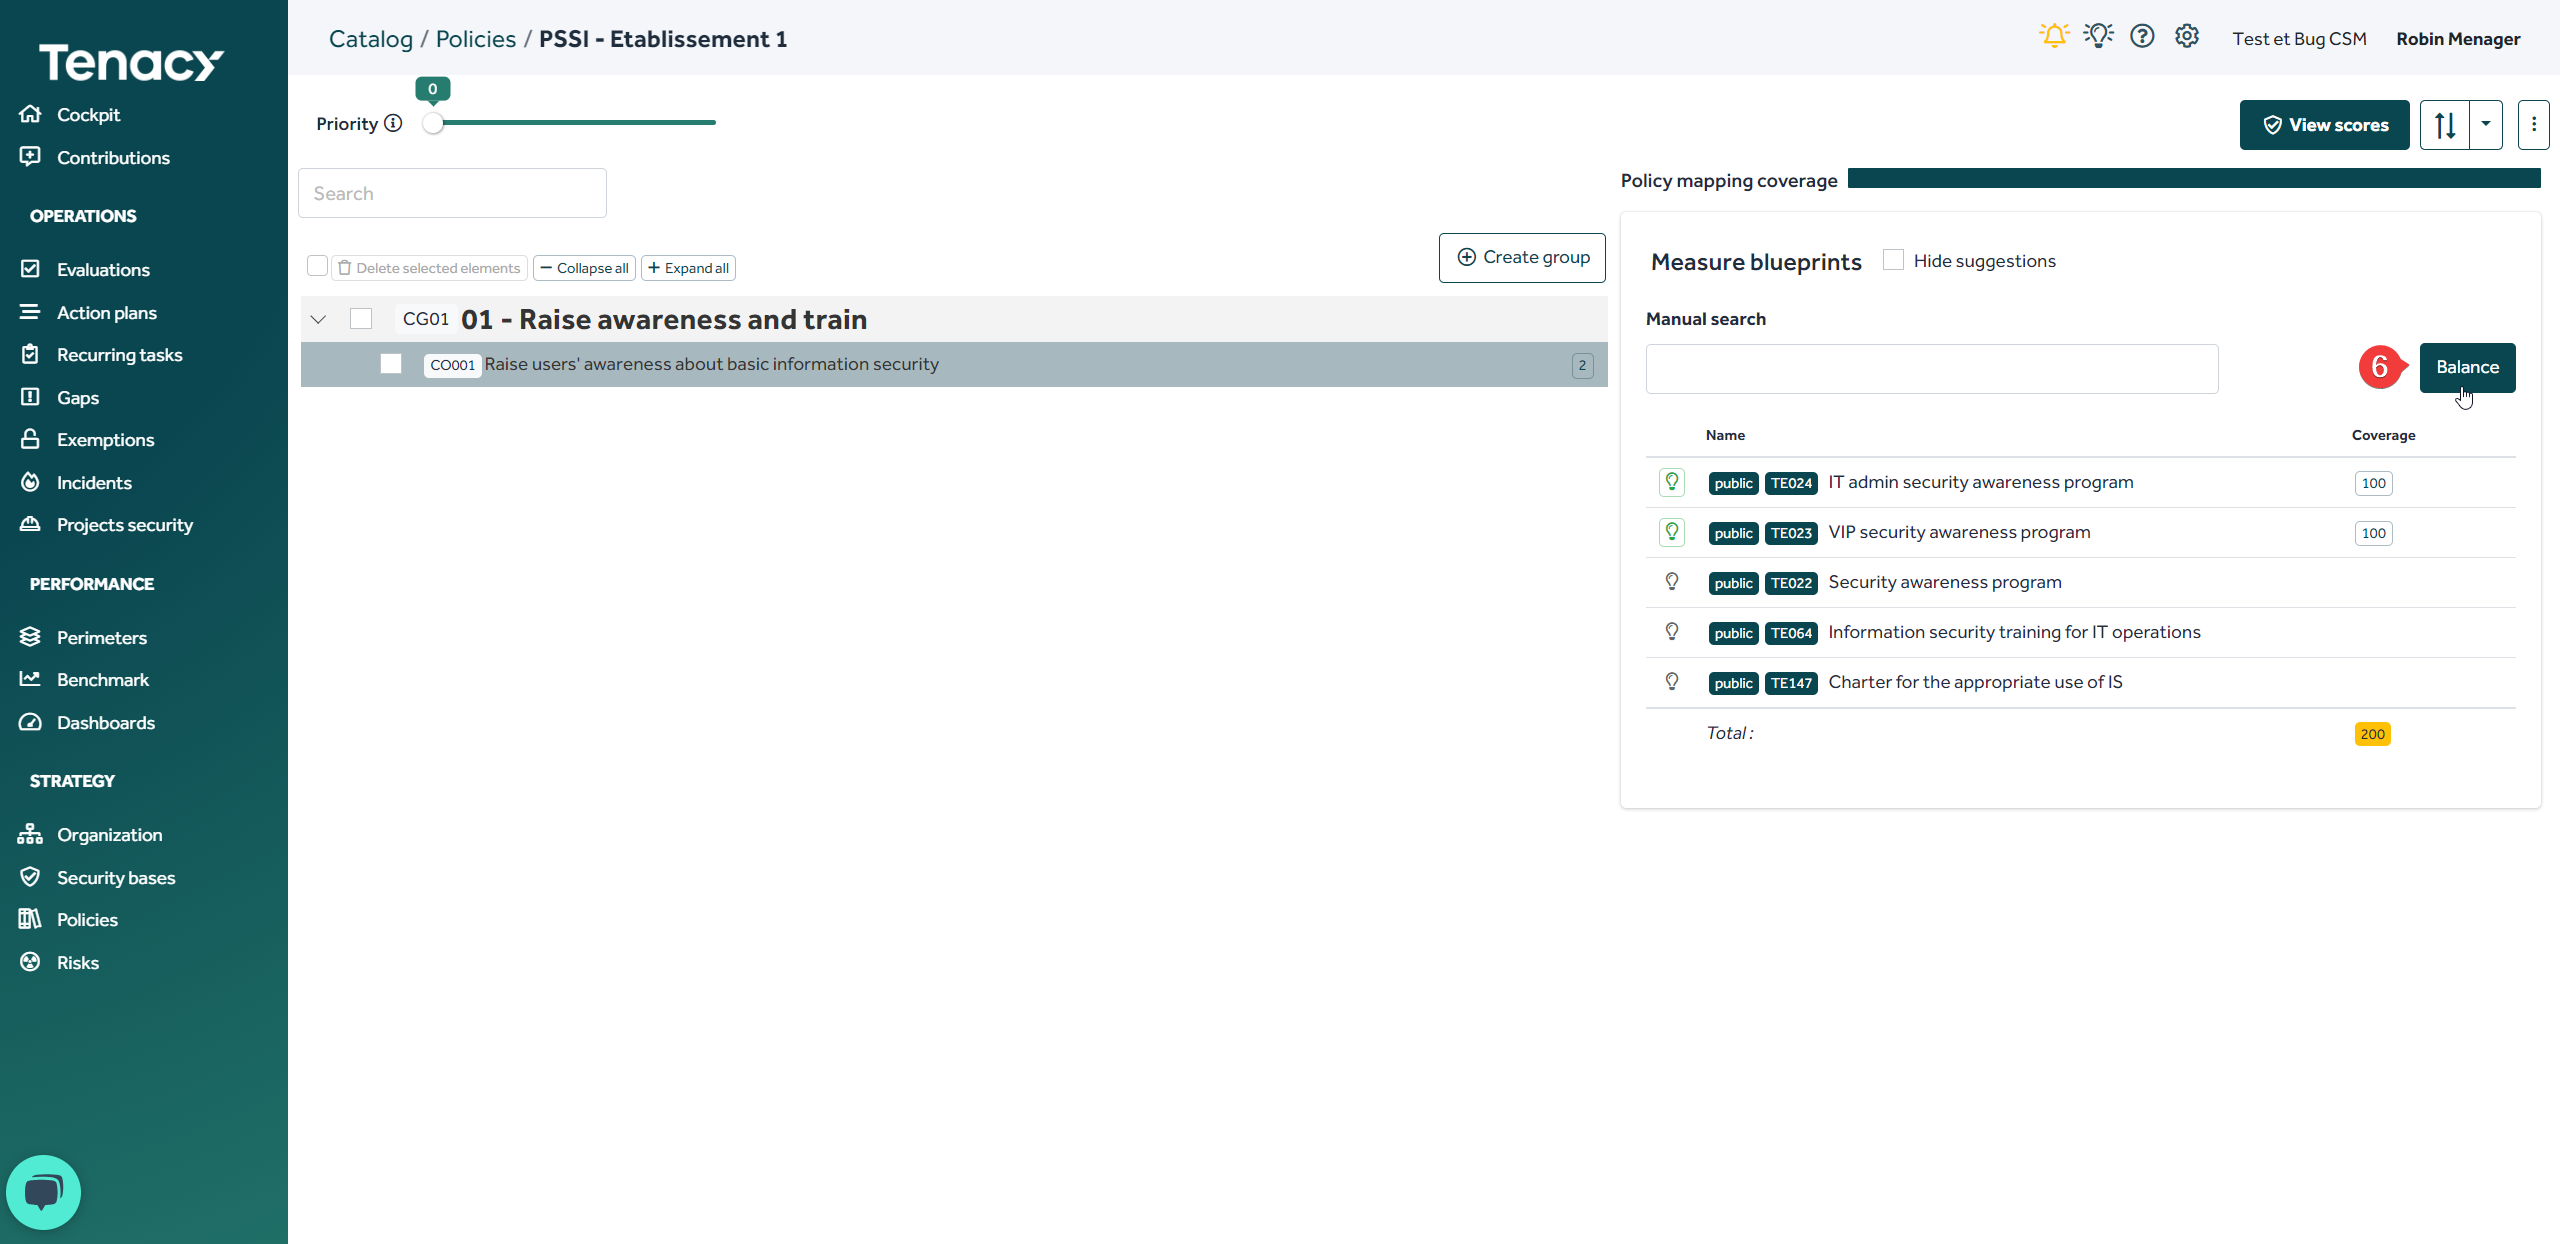
When you add more than two measures, the total score therefore increases to 100. We strongly advise you to use the "balance" button or manually touch up the coverage scores. Tenacy does not take "over-compliance" into account when calculating scores.
💡In some cases, the total score can be higher than 100, it means that you have several possible choices.
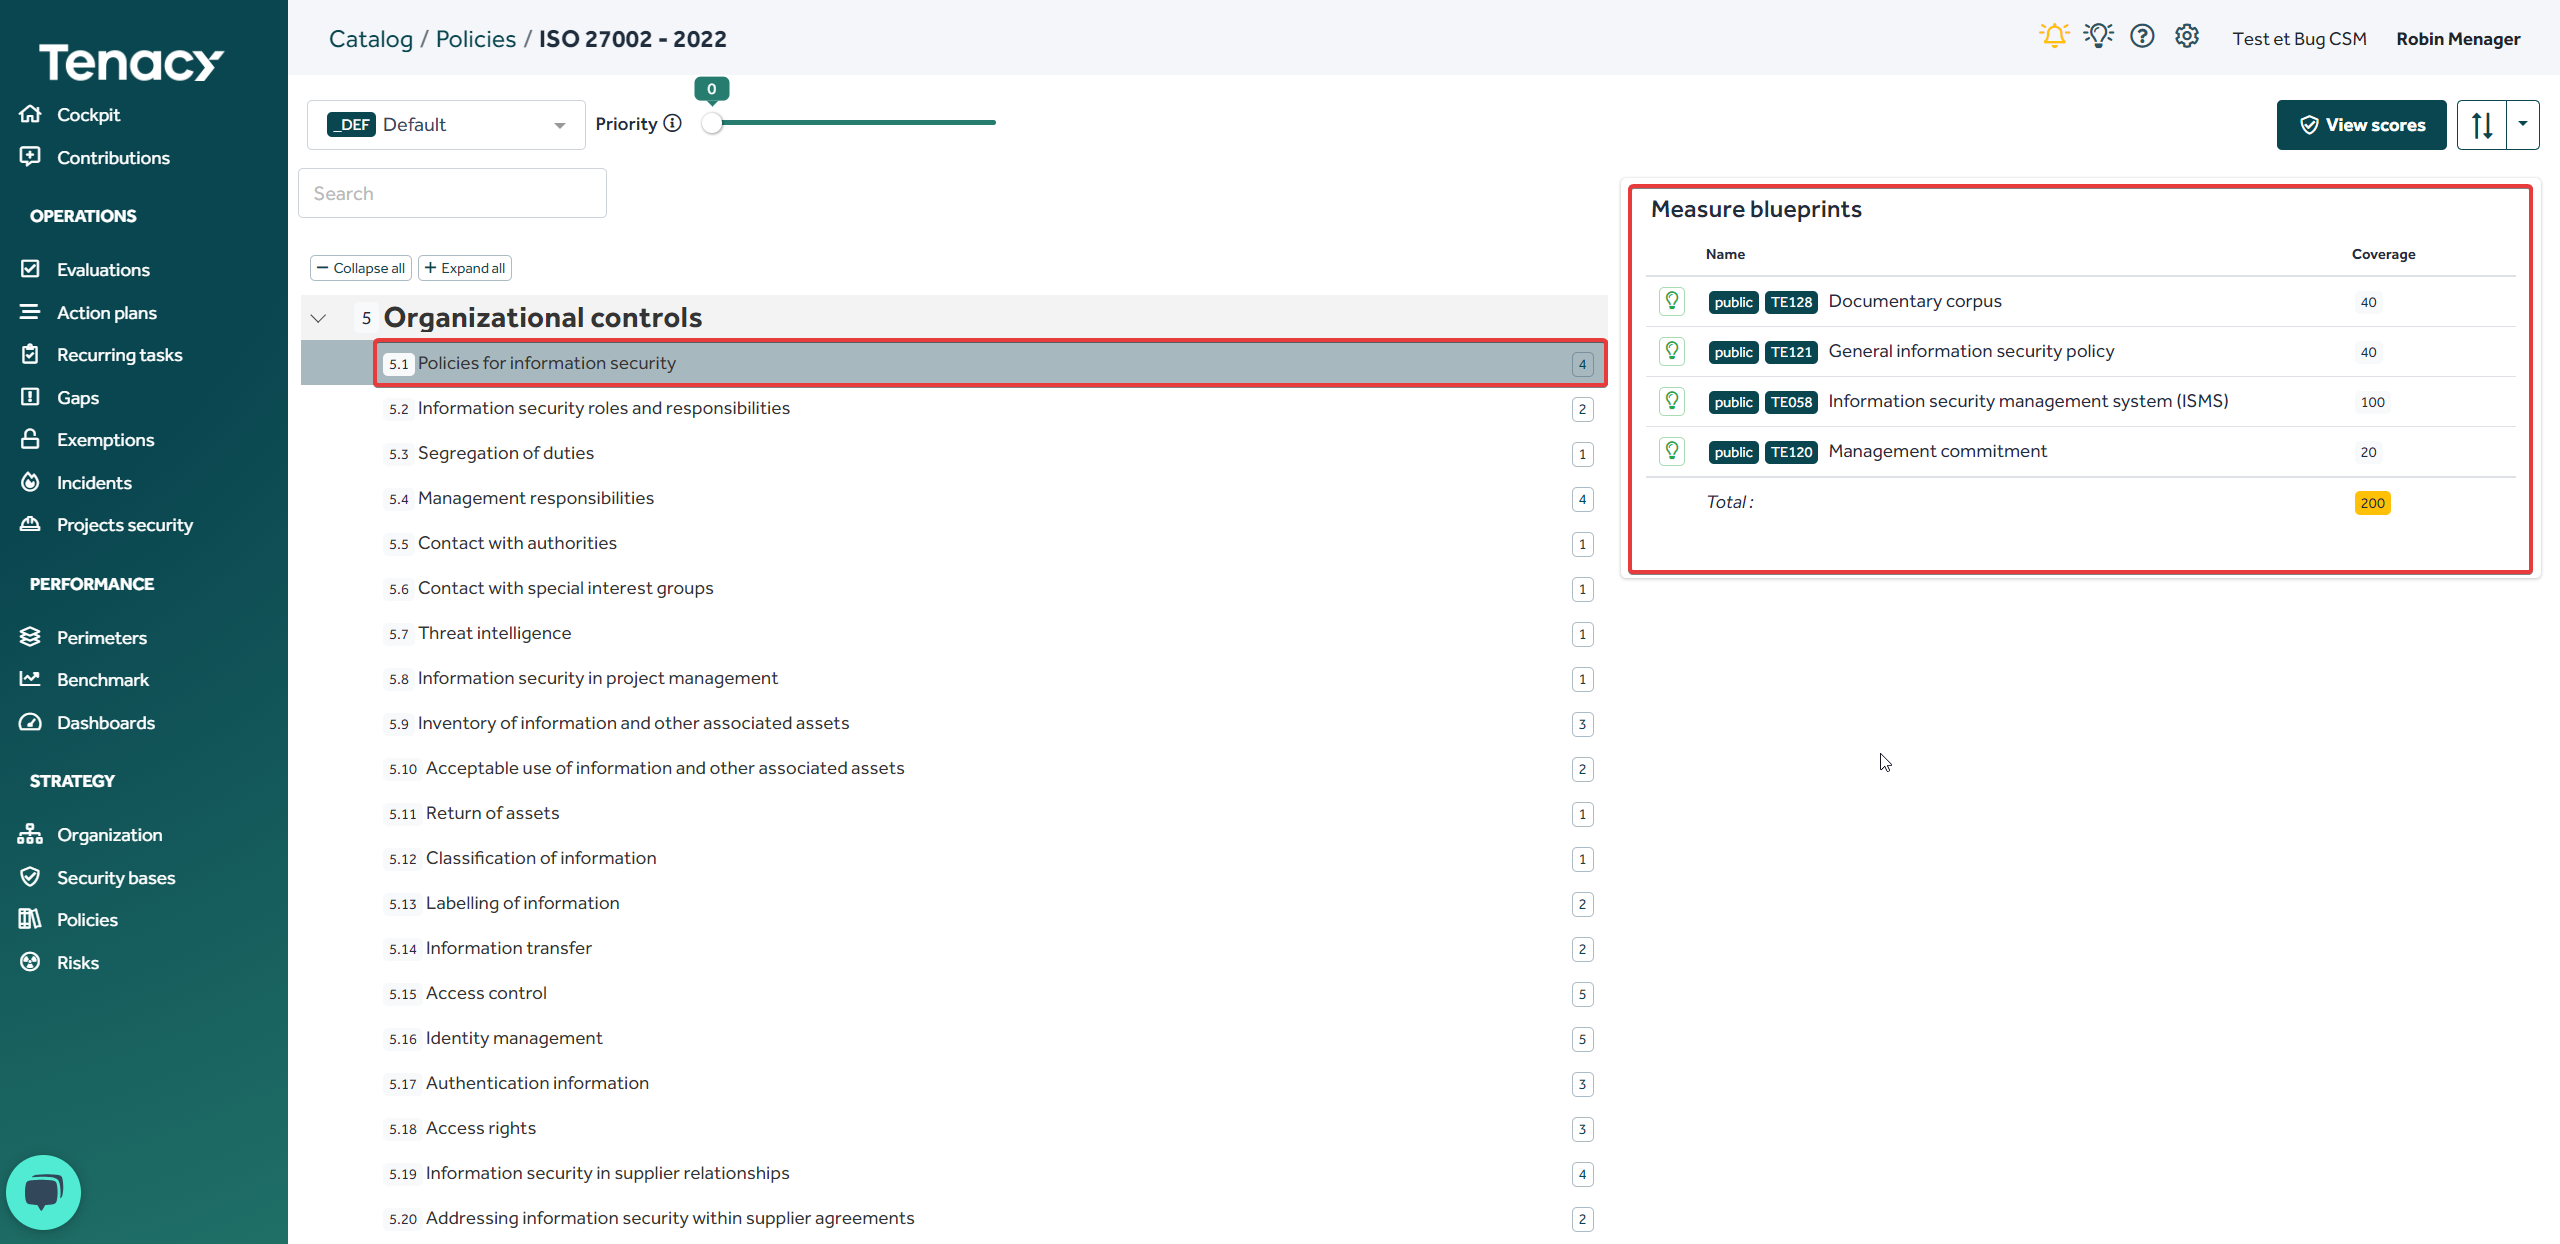
Example with ISO 27002 - 2002:
For control 5.1 I have the choice between setting up 3 measures or setting up 1 measure to achieve 100% coverage.
All you have to do is repeat the operation on all the controls of your policy!
A faster solution can be put in place. Tenacy having modeled dozens of repositories (public policies in the solution) it is possible for you to derive these in order to start from a base that you can adjust.
2. Create a "derivative" policy
To do this, use the wheel ⚙️> ![]() Catalog then search for the public policy you want to derive. Hover your cursor at the end of the line and click on "create a copy"
Catalog then search for the public policy you want to derive. Hover your cursor at the end of the line and click on "create a copy"

Contact support if necessary.
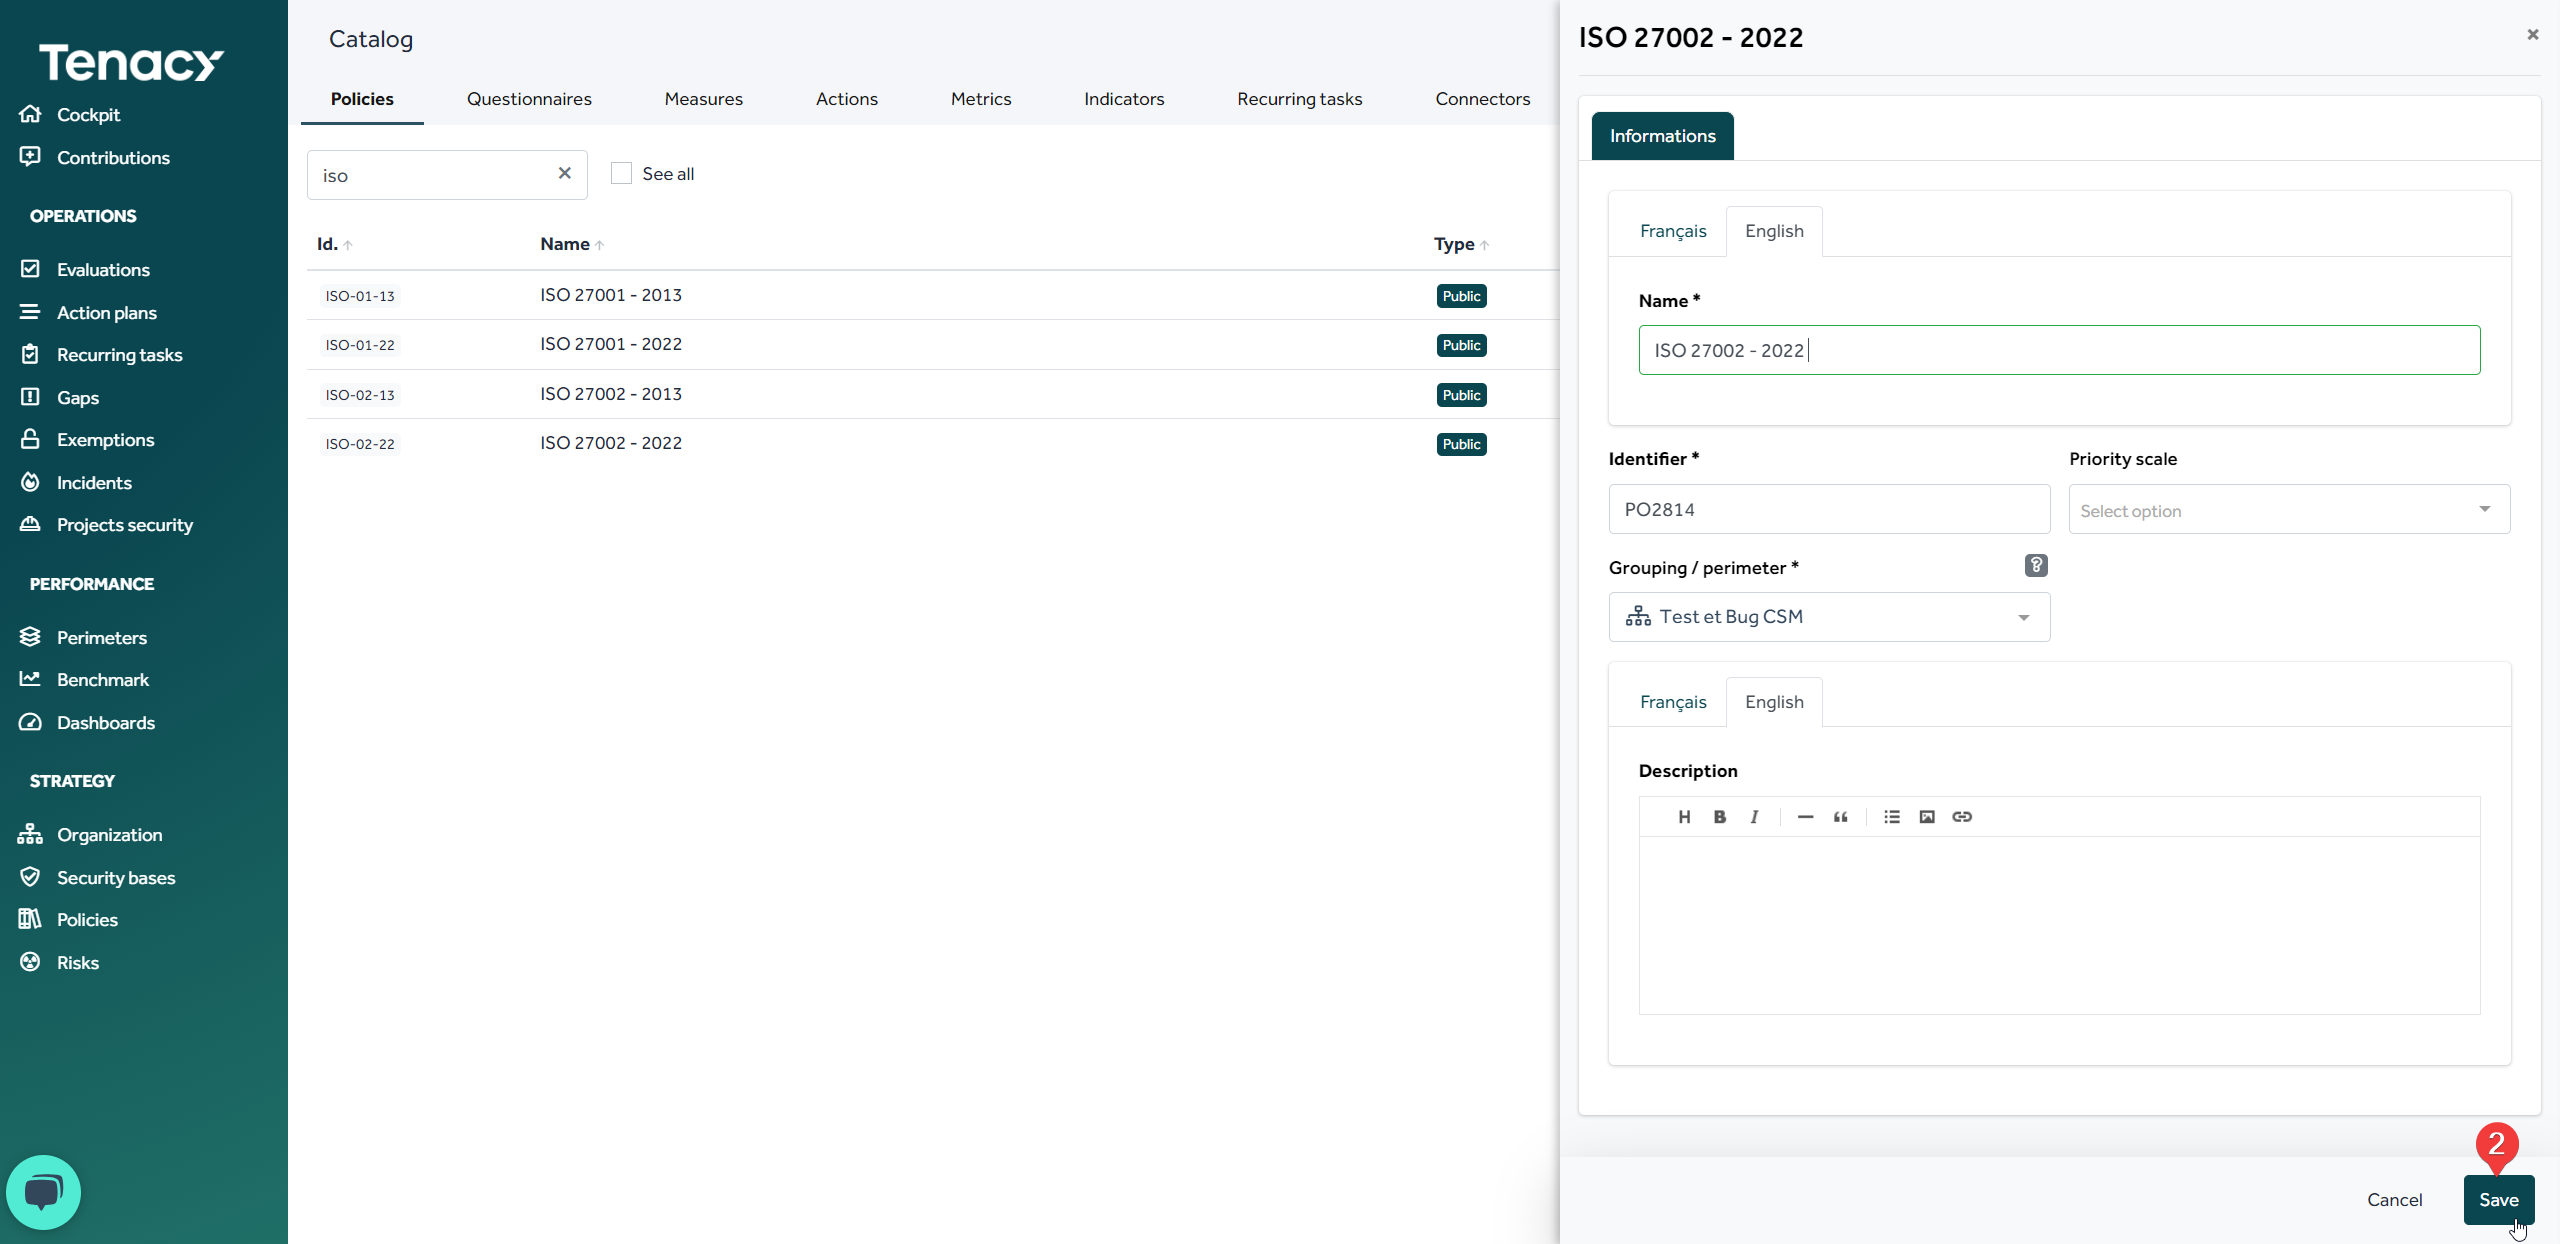
🔎The "Grouping/perimeters" field is not intended to designate the groups or perimeters to which the policy applies but only to manage the visibility and access rights to your policy following the attachment of users to a group or perimeter
Once your policy has been derived, you are free to modify it as you see fit (modify the descriptions of the controls, delete controls or controls groups, modify the coverage scores, add proposed measure, etc.)
This can especially help you when you want to write a private referencial that is close to an existing referencial.
So you have a good base to work from!
3. Create a policy via an XLS import
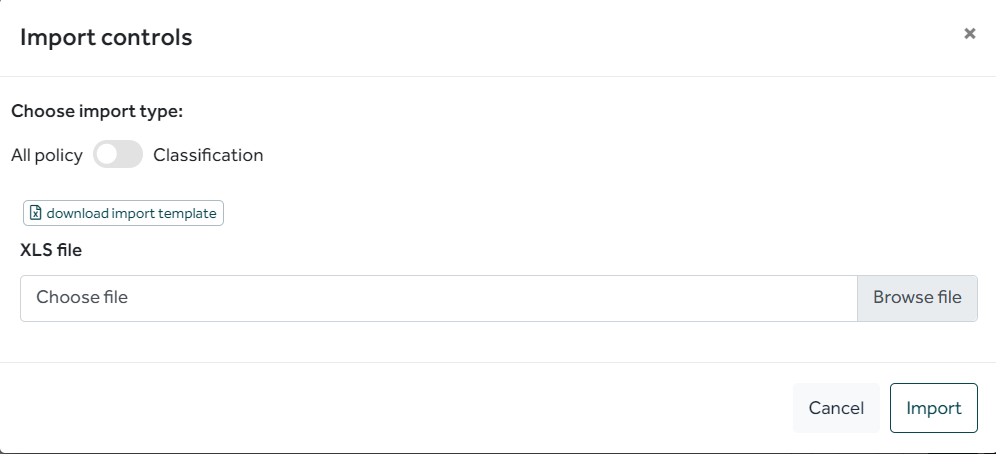
Another time-saving solution is the use of the XLS import feature.
You will first need to create a private policy and then click on the import feature.
The creation of controls groups, and measures can be done on Excel.
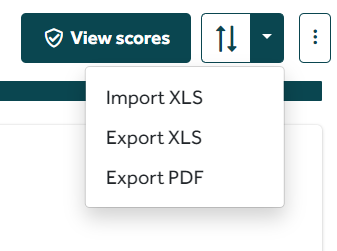
To do this, use the import template downloadable from "Import XLS"
It is sometimes easier to export an existing policy in order to make the changes in Excel.
⚠️ Warning, the modeling of your coverage (link controls - proposed measures) can only be done from the solution.
Part 2 : How to assign a perimeter to a policy?
There are 2 solutions to assign a policy to a perimeter.
1. From "Organization"
Organization > 🖍️ Edit perimeter (💡pass the cursor over the perimeter) > Policies > Add a policy

2. From "Policies"
Policies > Associate policy > Select the policy > Add perimeter or groups of perimeters.

To delete an associated perimeter you can clic on the cross at the end of the line.
Part 3 : Where to find my private policies ?
1. From the catalog
Gear![]() > Catalog > "Policies" tab
> Catalog > "Policies" tab
Here you will find all the policies of your environment, the public policies made available by Tenacy as well as those you have been able to create.
Private policies are found through the type marker "Private"![]() and are at the top of the list in the catalog.
and are at the top of the list in the catalog.
2. From "Policies"
Directly from "Policies" accessible in the left menu, you will see here all the policies deployed in your environment.
They are sorted alphabetically by default.
You can have all your private policies one after the other by clicking on the "Type" column in order to sort the list.
Optional - Part 4 : How do I add a classification to my private policy ?
In Tenacy you can create policy classifications to organize your policy from a different reporting angle.
- Accessing to the policy where you want to create your new classification
Wheel ⚙️ > Catalog > Policy tab > Click on your policy

Once in your policy
![]()
- Add a classification

- Create your control groups

- Add controls
Move your cursor over the group > Add control
![]()
⚠️ For controls, click on "Existing controls" to retrieve your primary classification controls and their measure associations.

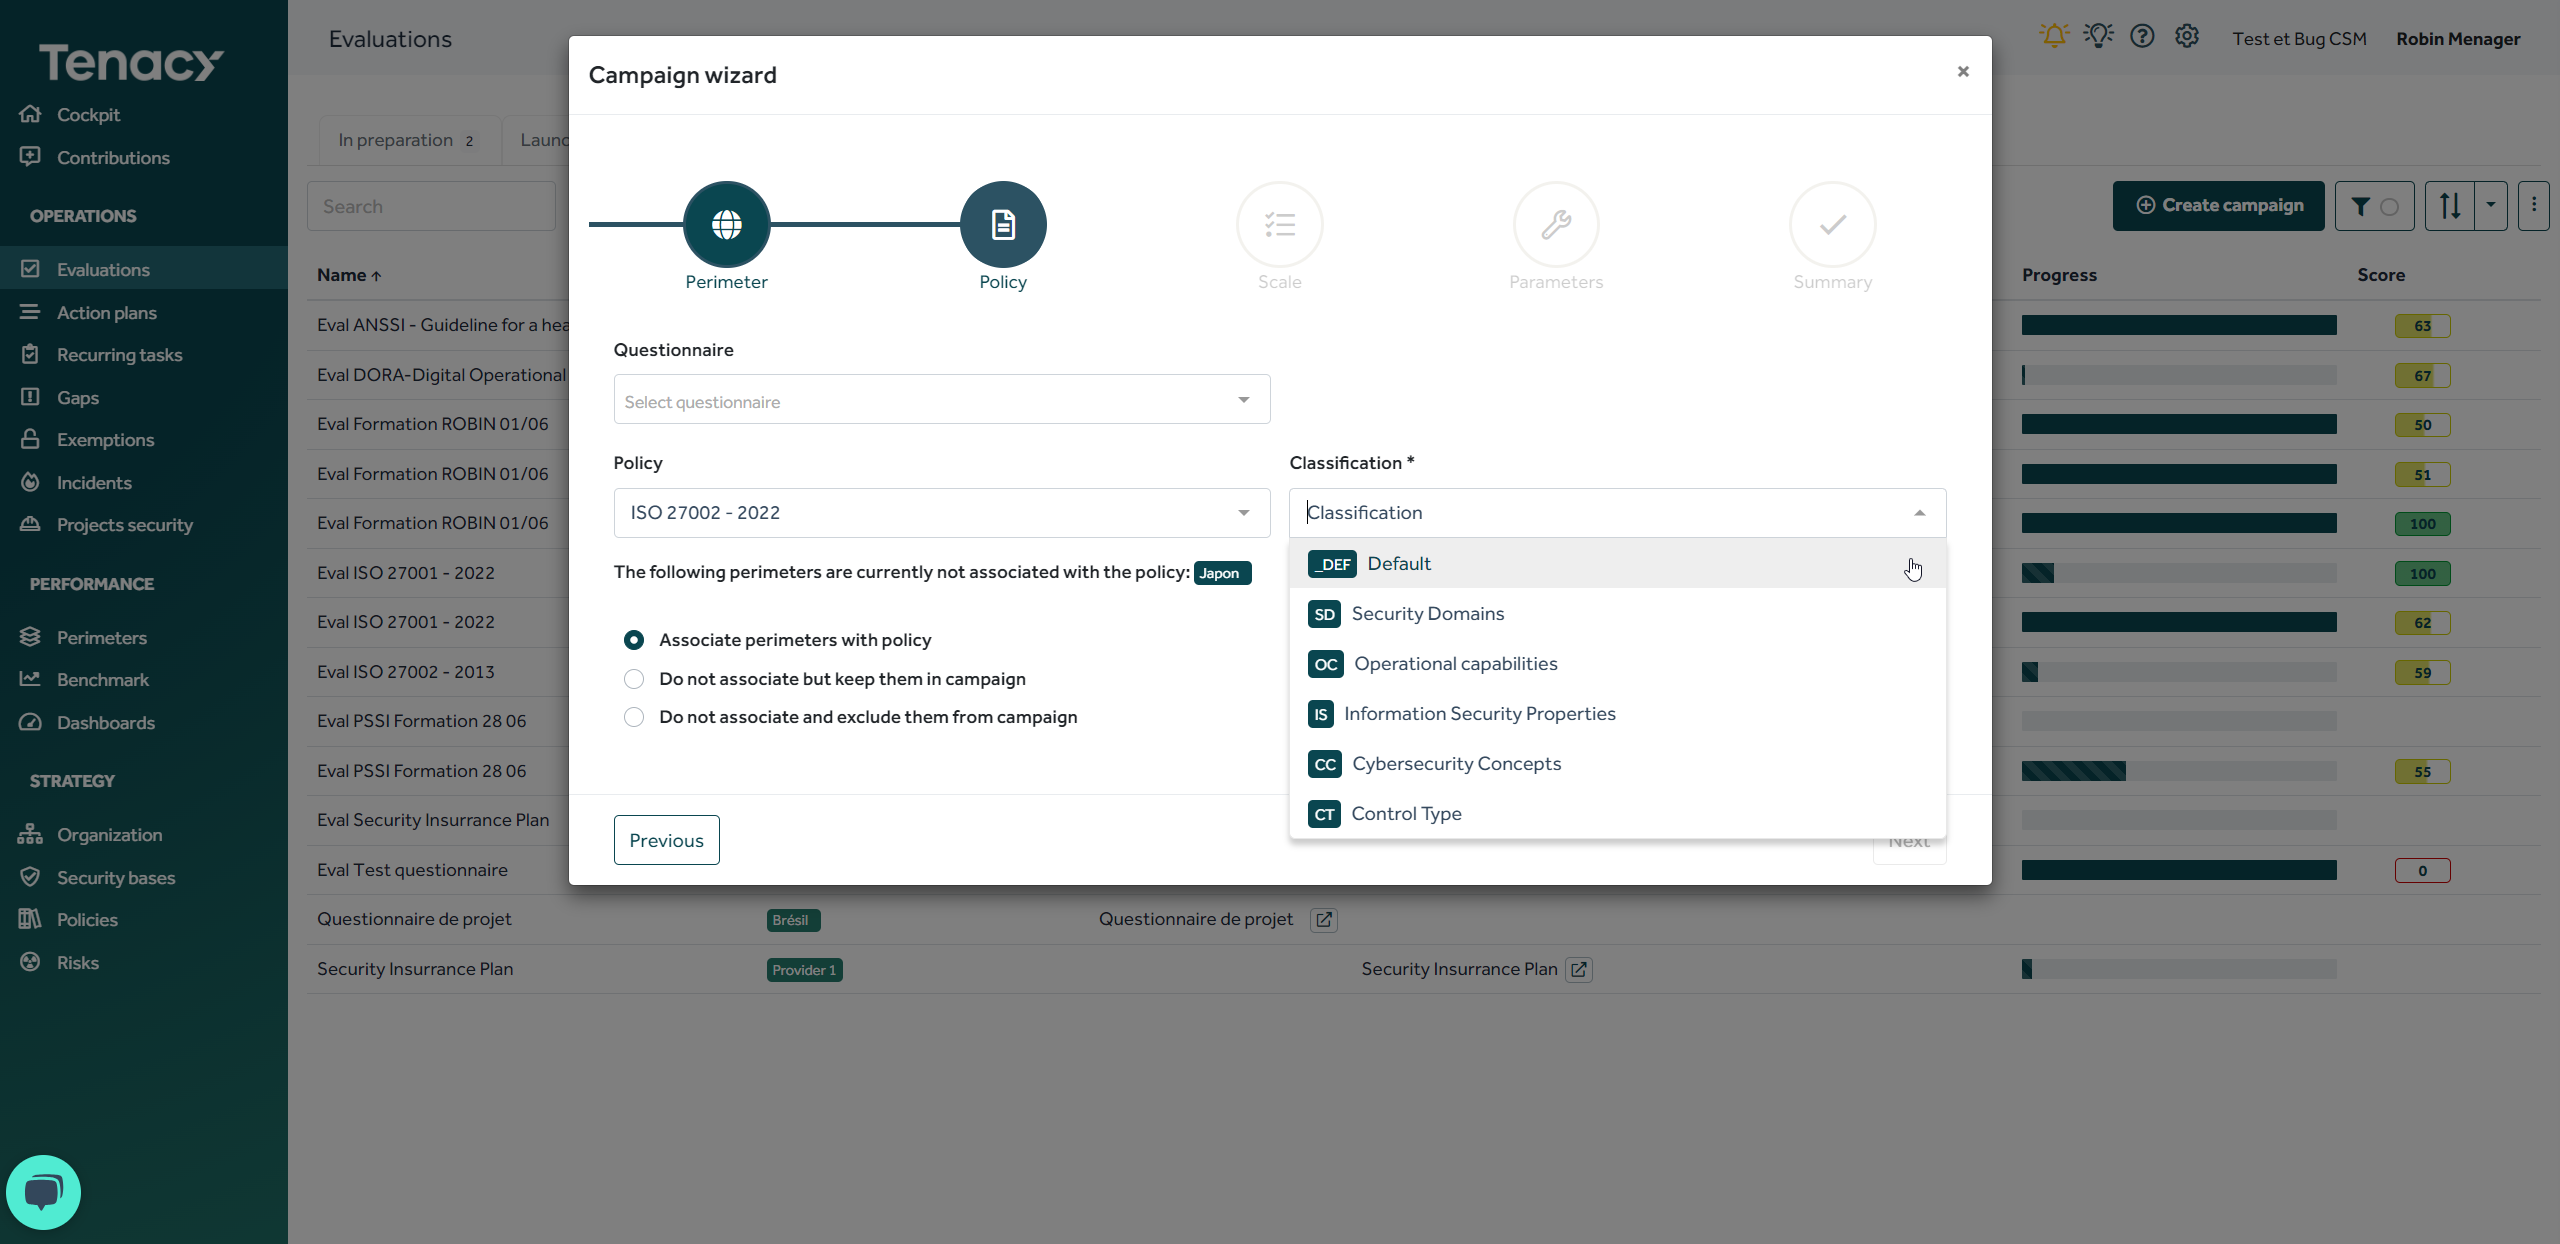
In addition, during an evaluation campaign, you can configure your campaign in relation to a certain classification of a policy.
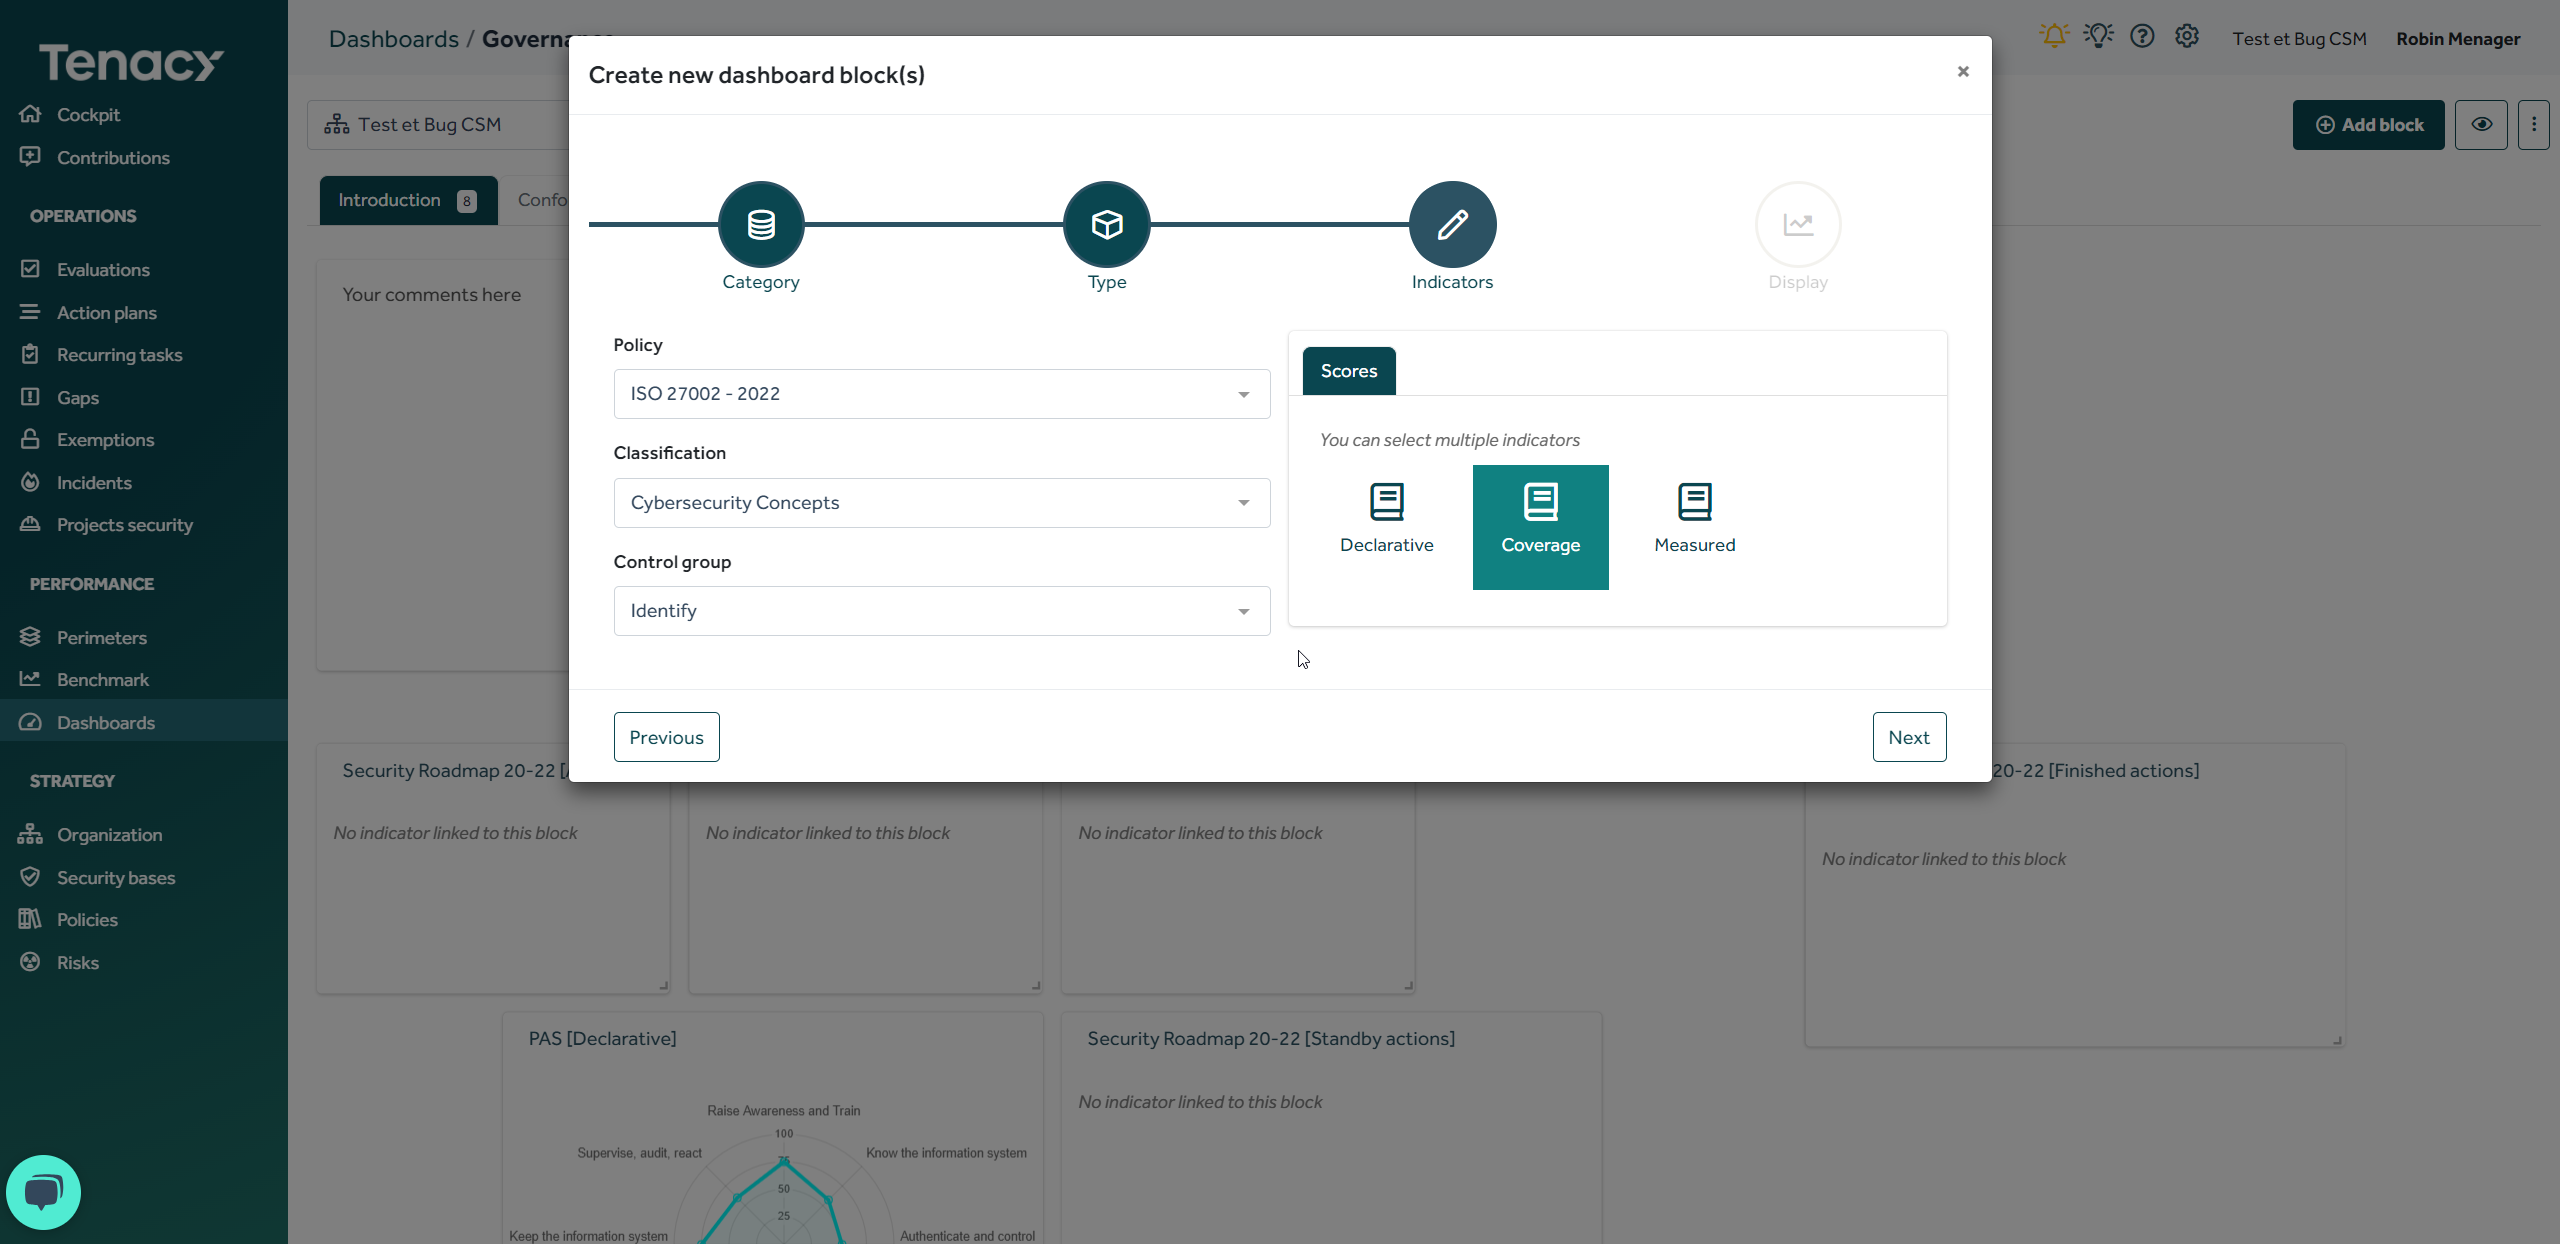
Finally, within a dashboard you can report on a particular classification of your policy.
🚨A policy's overall compliance score always takes into account all applicable controls (based on their priority) and is independent of classifications.
To set up a classification for your policy, refer to this article.