In this article, we'll see how to set up and use Contacts in Tenacy.
Summary
To facilitate communication with different perimeters and stakeholders, especially suppliers, it is now possible to create and associate contacts with perimeters.
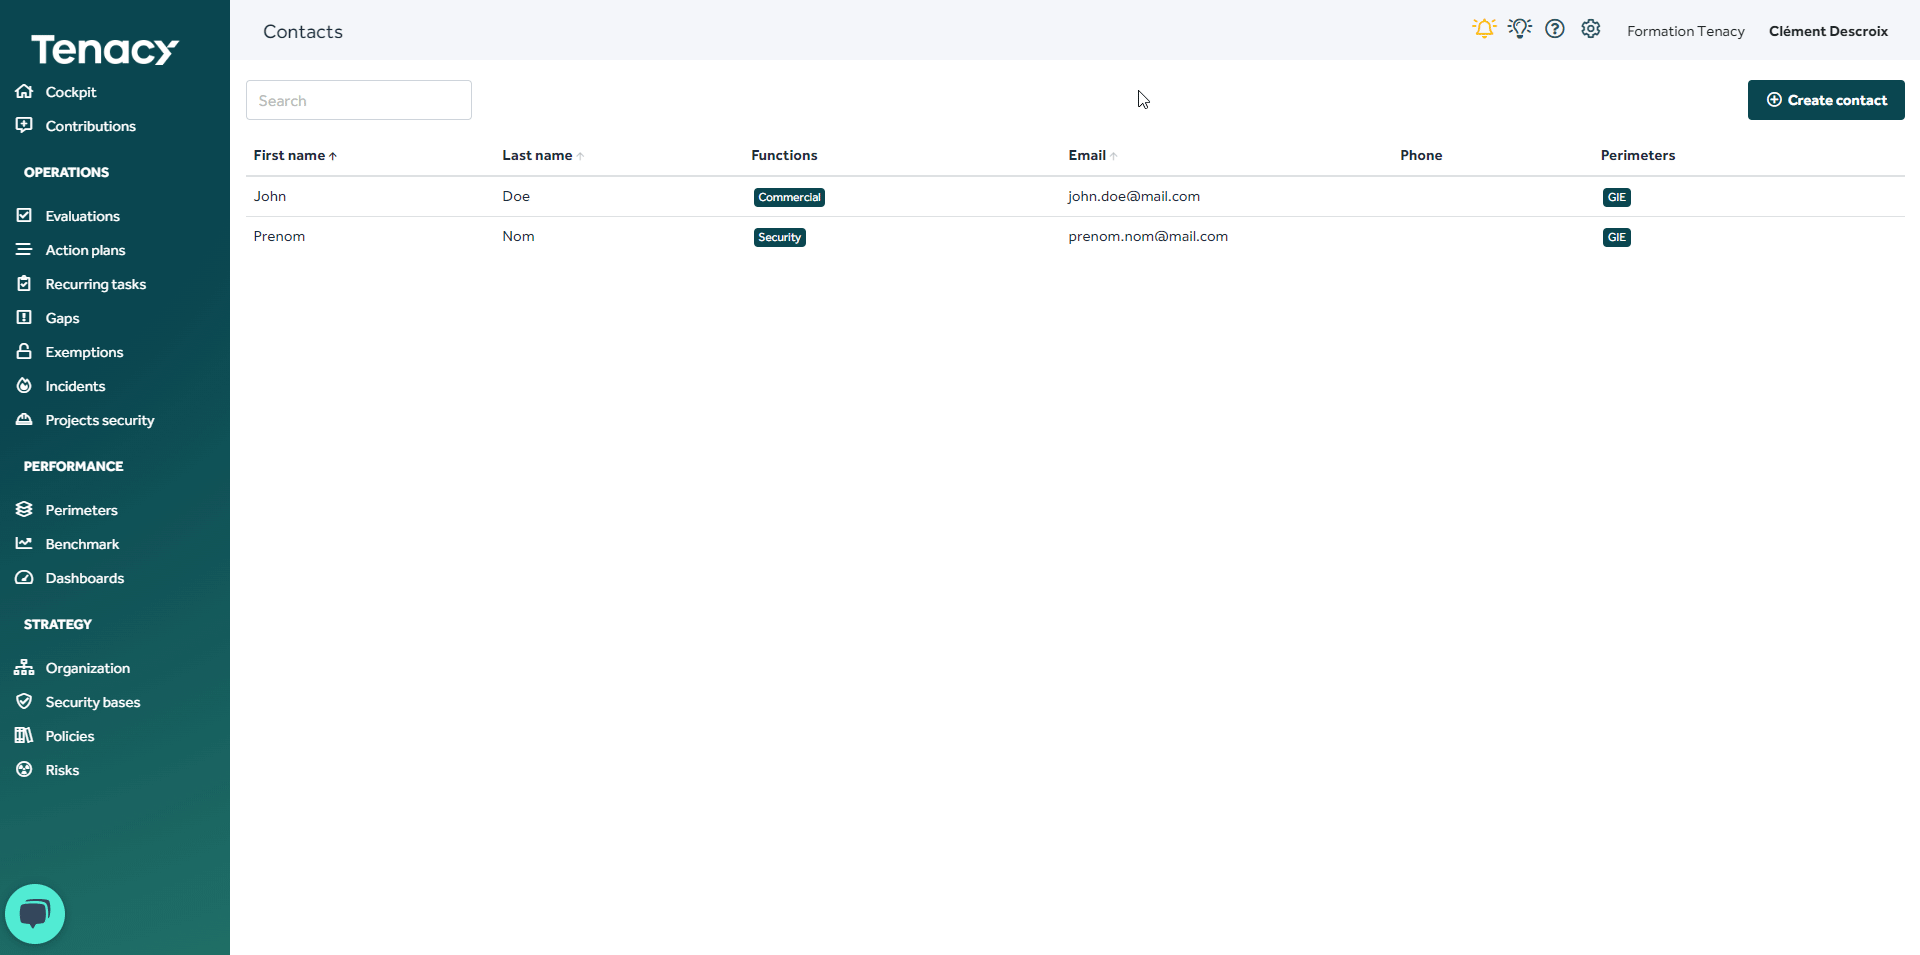
Access and manage the global list of contacts from the Cogwheel , then Contacts menu.
How to create a contact ?
1. From Contacts
To create a contact, click the Create Contact button.
From the Information tab, enter an email address, if it is already linked to a user account, the known information will be automatically loaded.
You can then optionally link a function, a phone number, an address and a comment to the contact.
Each contact can have one or more functions to differentiate the privileged contacts of each user according to their needs. A list of default functions is provided.
Each contact can be linked to one or more perimeters. This ease the organization and search for a contact.
To link a contact to a perimeter, click the Perimeters tab and select a perimeter. Click the Add button to validate it.
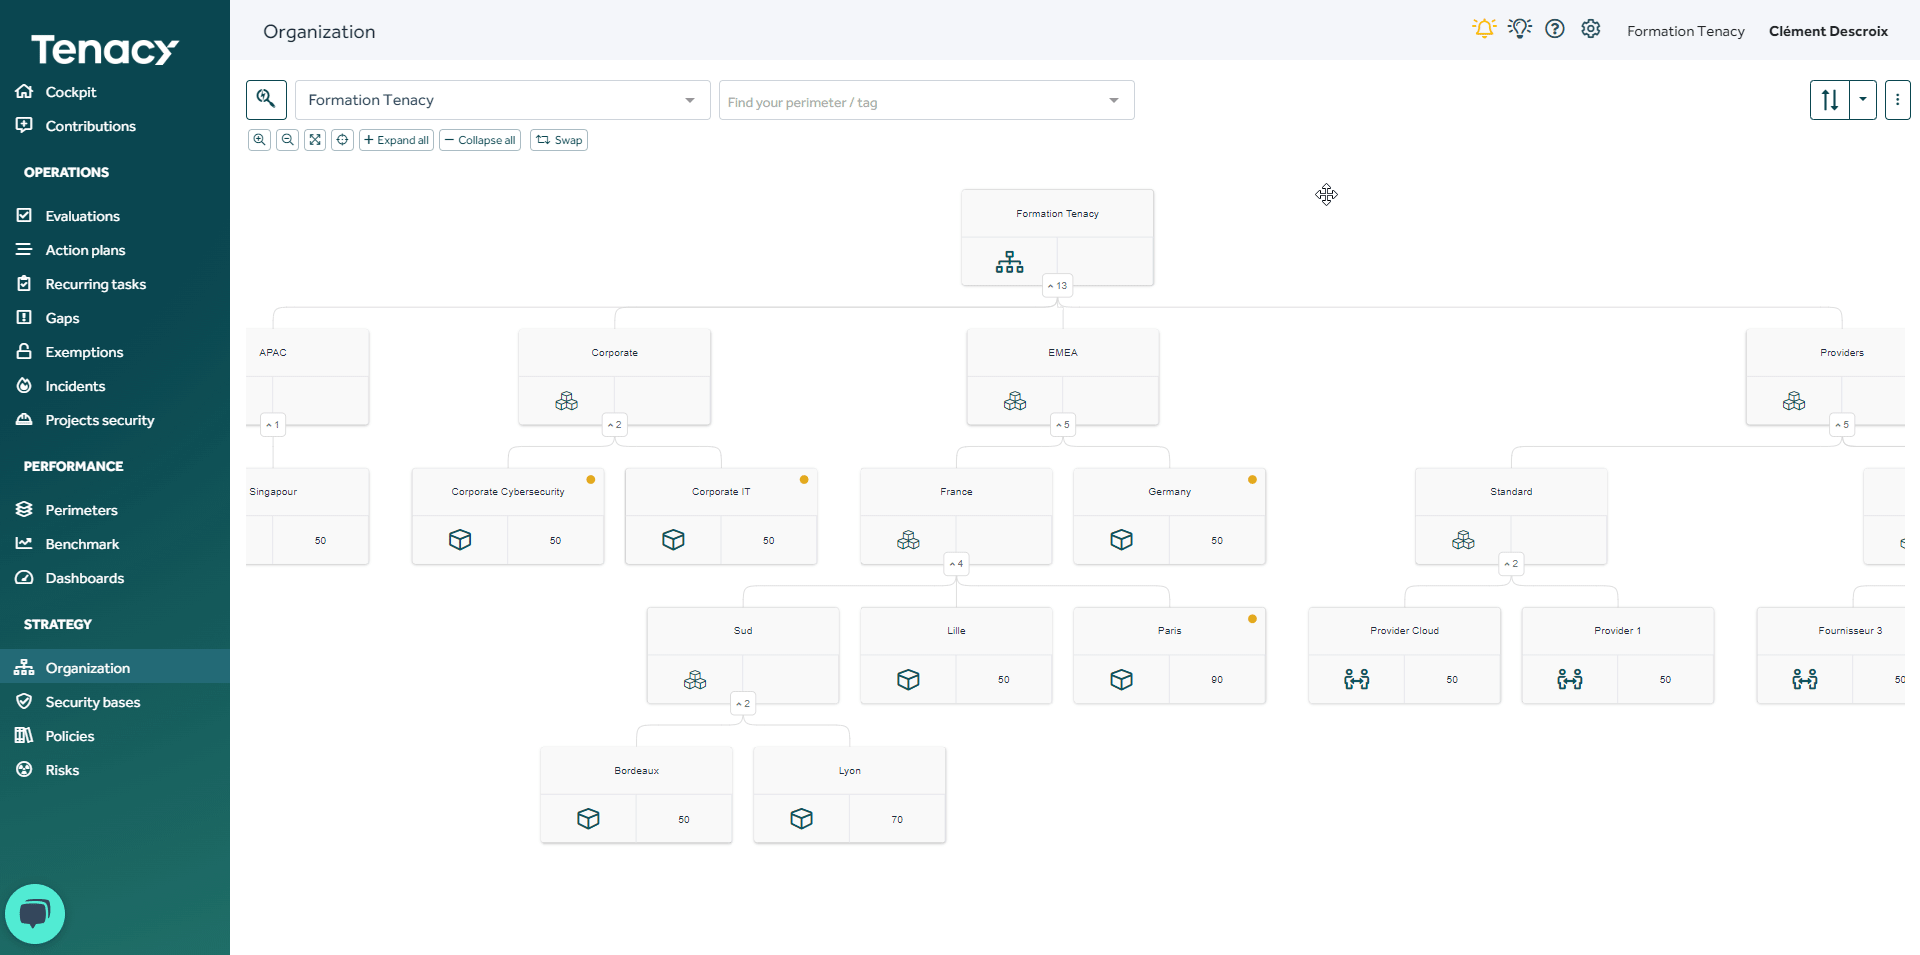
2. From Organization
You can also create contacts directly from your tree by clicking Add and entering its email, its phone number or its functions, etc.
⚠️ You can create but not edit your contacts from Organization, you will have to go to the cogwheel ⚙️> Contacts for editing.
3. Turn a contact into a Tenacy user
User and contact data are linked.
When an email address is used for a user account and for one or more contacts, and the user informations are changed, it is reflected in all the contact sheets concerned (email, first name and last name).
From the contact list, it is also possible to turn a contact into a Tenacy user to give him access to the solution.
🔎 You can create as many contacts per perimeter as you want and assign as many perimeters as you have to a contact.