There is another way to create your action plans via policies: in this article we will see how to do it and what it can be used for.
Summary
2. Creation of an automatic action plan
2.1. Filter controls as needed
1. Filtered controls display
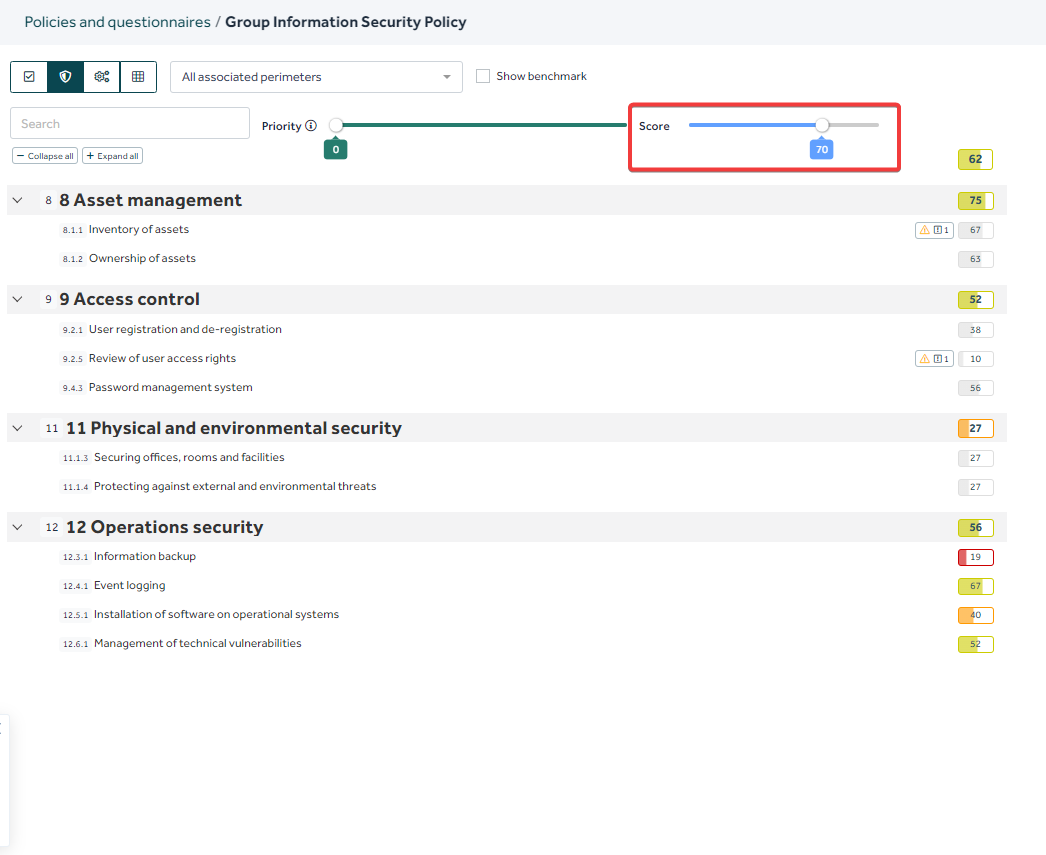
From the "Policies" tab, a quick filter allows you to focus on the controls with the lowest scores in your policies:
In the example below, we only display controls with a coverage score between 0 and 70.
🔎 The filter is applicable on the 3 scores: declarative, coverage or measured.
2. Creation of an automatic action plan
It is now possible, on the basis of these scores, to automatically create an action plan for a given area.
⚠️The automatic action plan functionality is not yet available for applications and providers.
2.1. Filter controls as needed
As stated above, you can focus on the controls with the lowest scores to create your action plan accordingly.
🔎 You can also create an action plan for your entire policy.
2.2. Set up the action plan
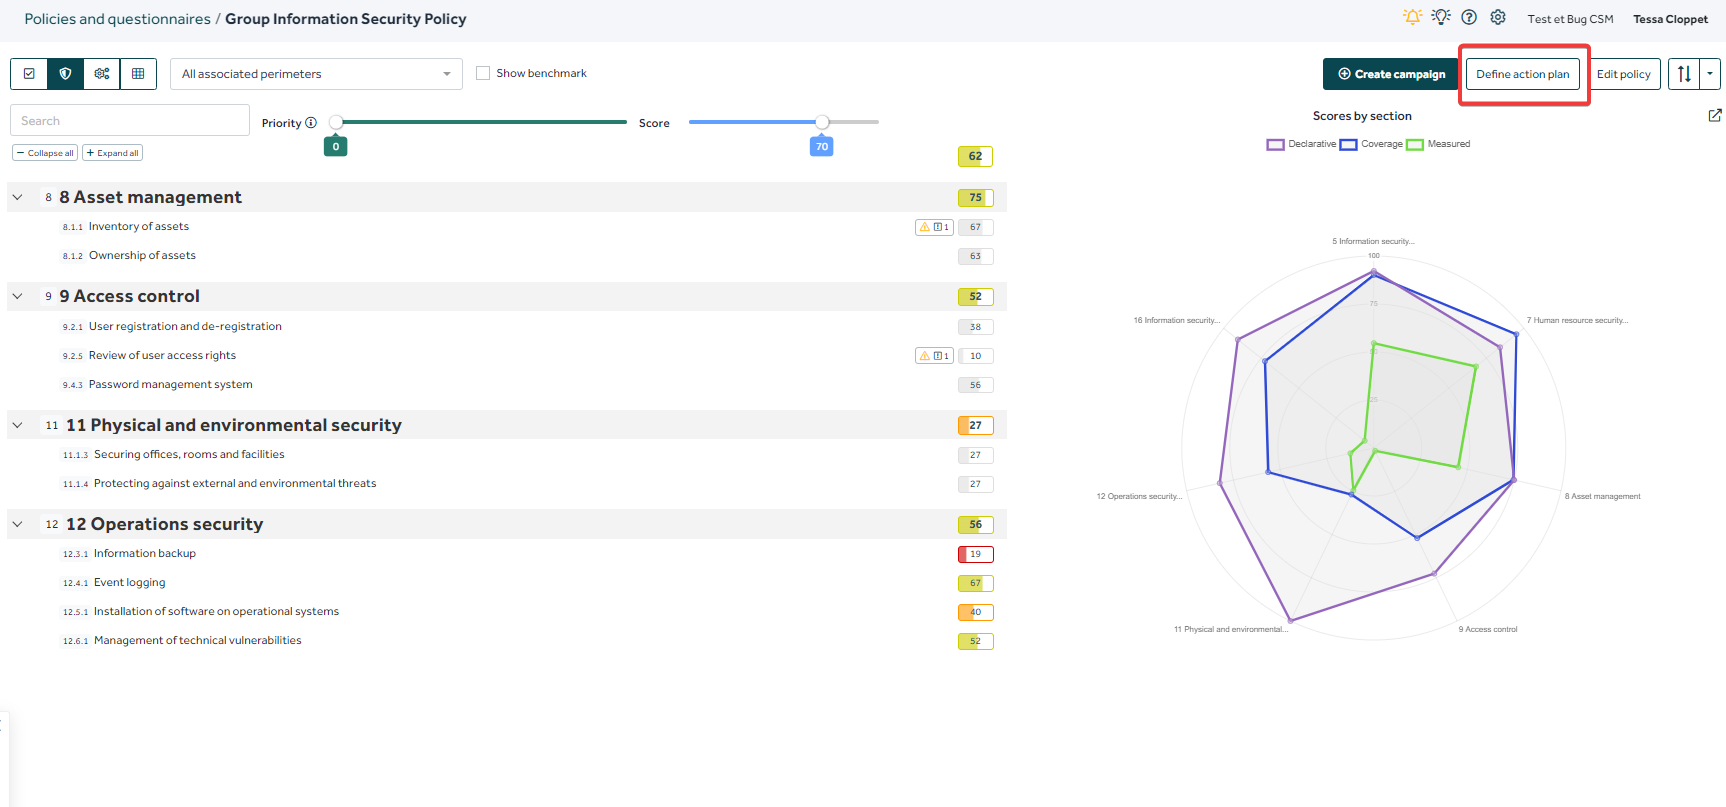
Once the filter by score has been decided, click on the “Define an action plan” button.
An action plan is made for a given perimeter: if you haven't chosen a perimeter, when you click on "Define an action plan", a pop-up appears so that you can choose one.
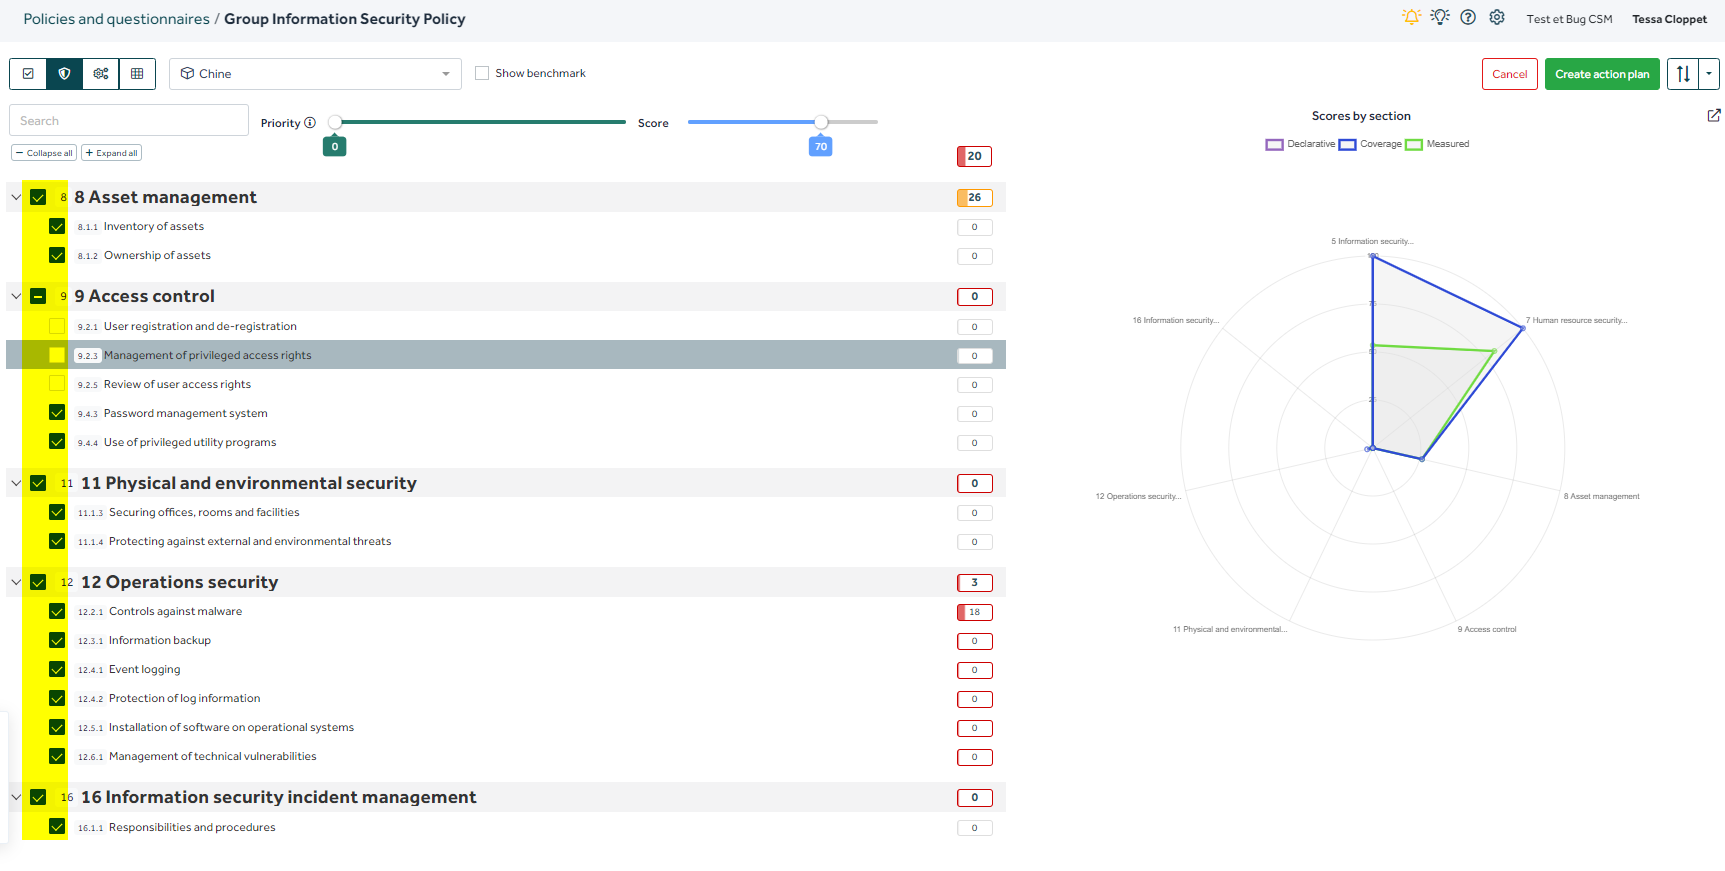
Once the perimeter has been chosen, the solution gives you the possibility of selecting the controls that need to be corrected. This allows you to adjust the scope of your action plan.
Tenacy, based on the scores, the measure under construction or existing, automatically creates an action plan:
When you click on “Create an action plan”, the solution offers 3 choices:
- Associate plan to perimeter: action plan managed solely by the perimeter
- Handle plan centrally: manage the action plan centrally only. The perimeter will contribute to the actions without seeing or managing the plan
- Associate the perimeter and follow centrally: action plan managed by perimeter and centrally.
🔎 For your policy, if you wish to have an action plan on several perimeters, you will have to repeat the operations for each perimeter. You will then have to select one of the 2 options "Handle plan centrally" or "Associate the perimeter and follow centrally".
The solution will then ask you to select or create an action register:
Once the choice is confirmed, the action plan is generated: a pop-up tells you what has been created:
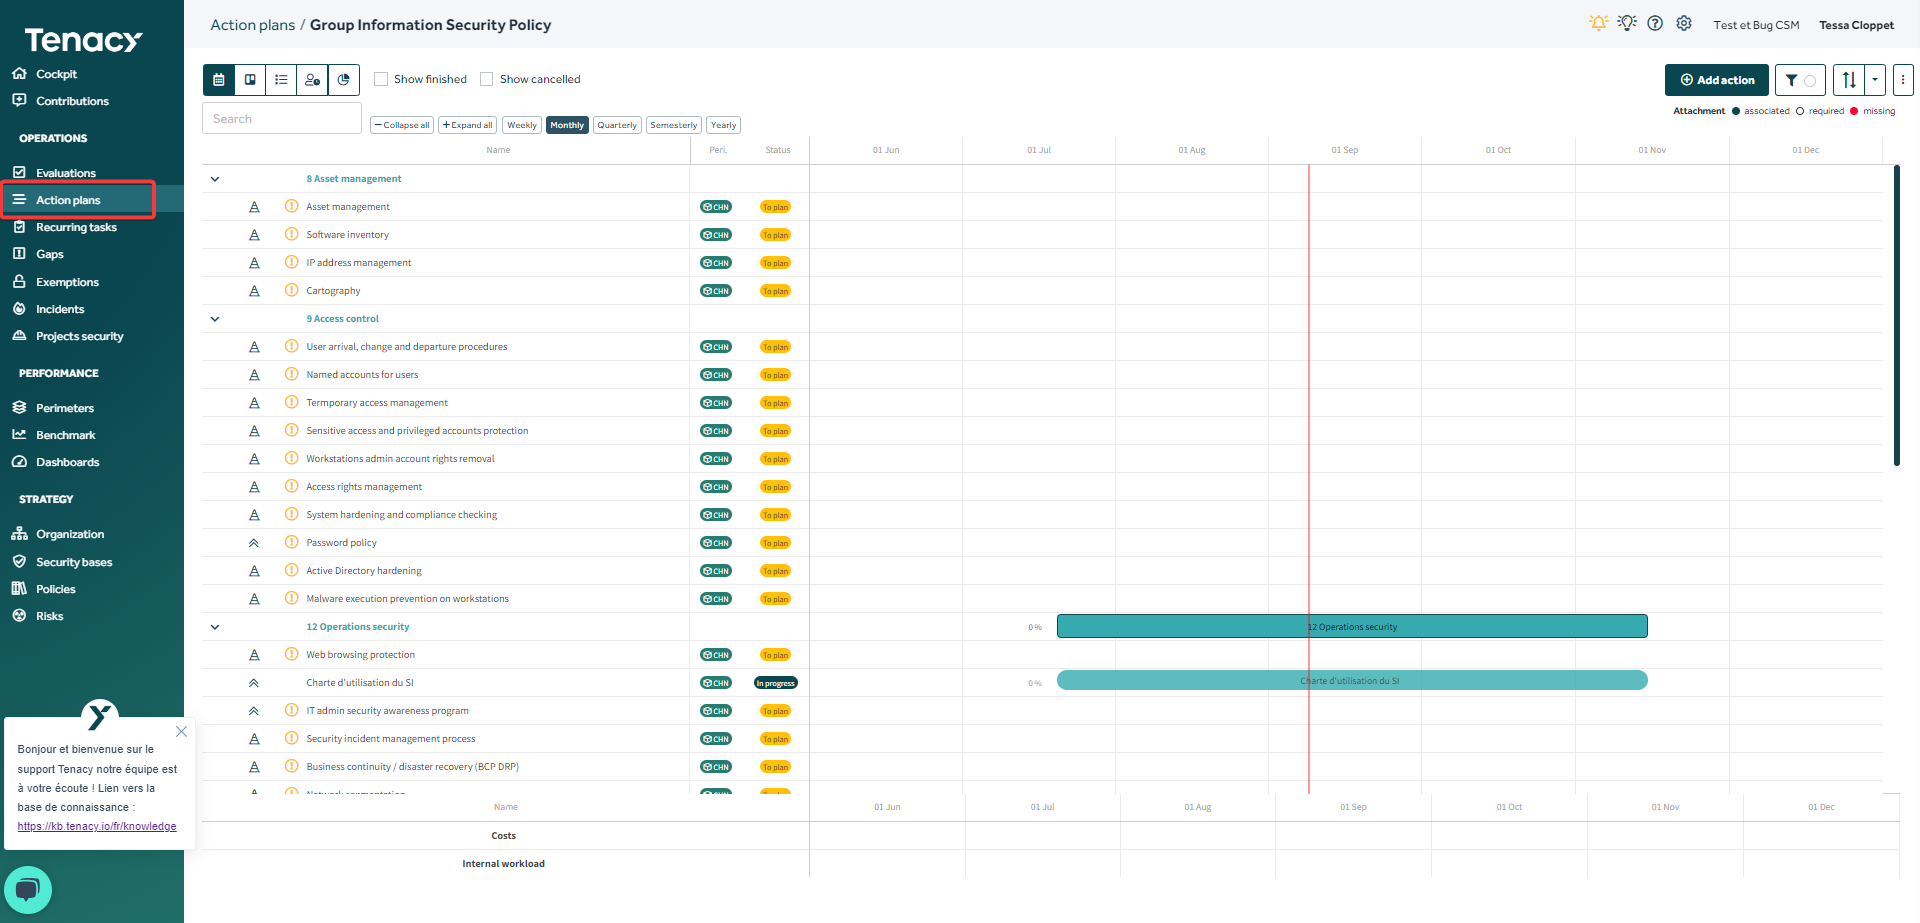
You can then find your created register in the “Action plan” tab.
Your action plan is created!
You can now edit it: change the color of the groups, adjust the planning of your actions etc.
🔎 Groups are created based on your policy's controls groups.

