Do you want to attach an indicator to your perimeter? Here's how
Summary
1. Why attach an indicator to a perimeter?
2. Attach an indicator to a perimeter from the catalog
3. Attach an indicator to a operated measure on a perimeter
4. Complete your indicator
1. Why attach an indicator to a perimeter?
In order to control the performance of your operated measures, it is necessary to set up recurring tasks and obtain performance indicators.
It is also possible that you want to attach indicators to a perimeter in order to report on the latter (without necessarily that this approach is part of a desire to control a system).
2. Attach an indicator to a perimeter from the catalog
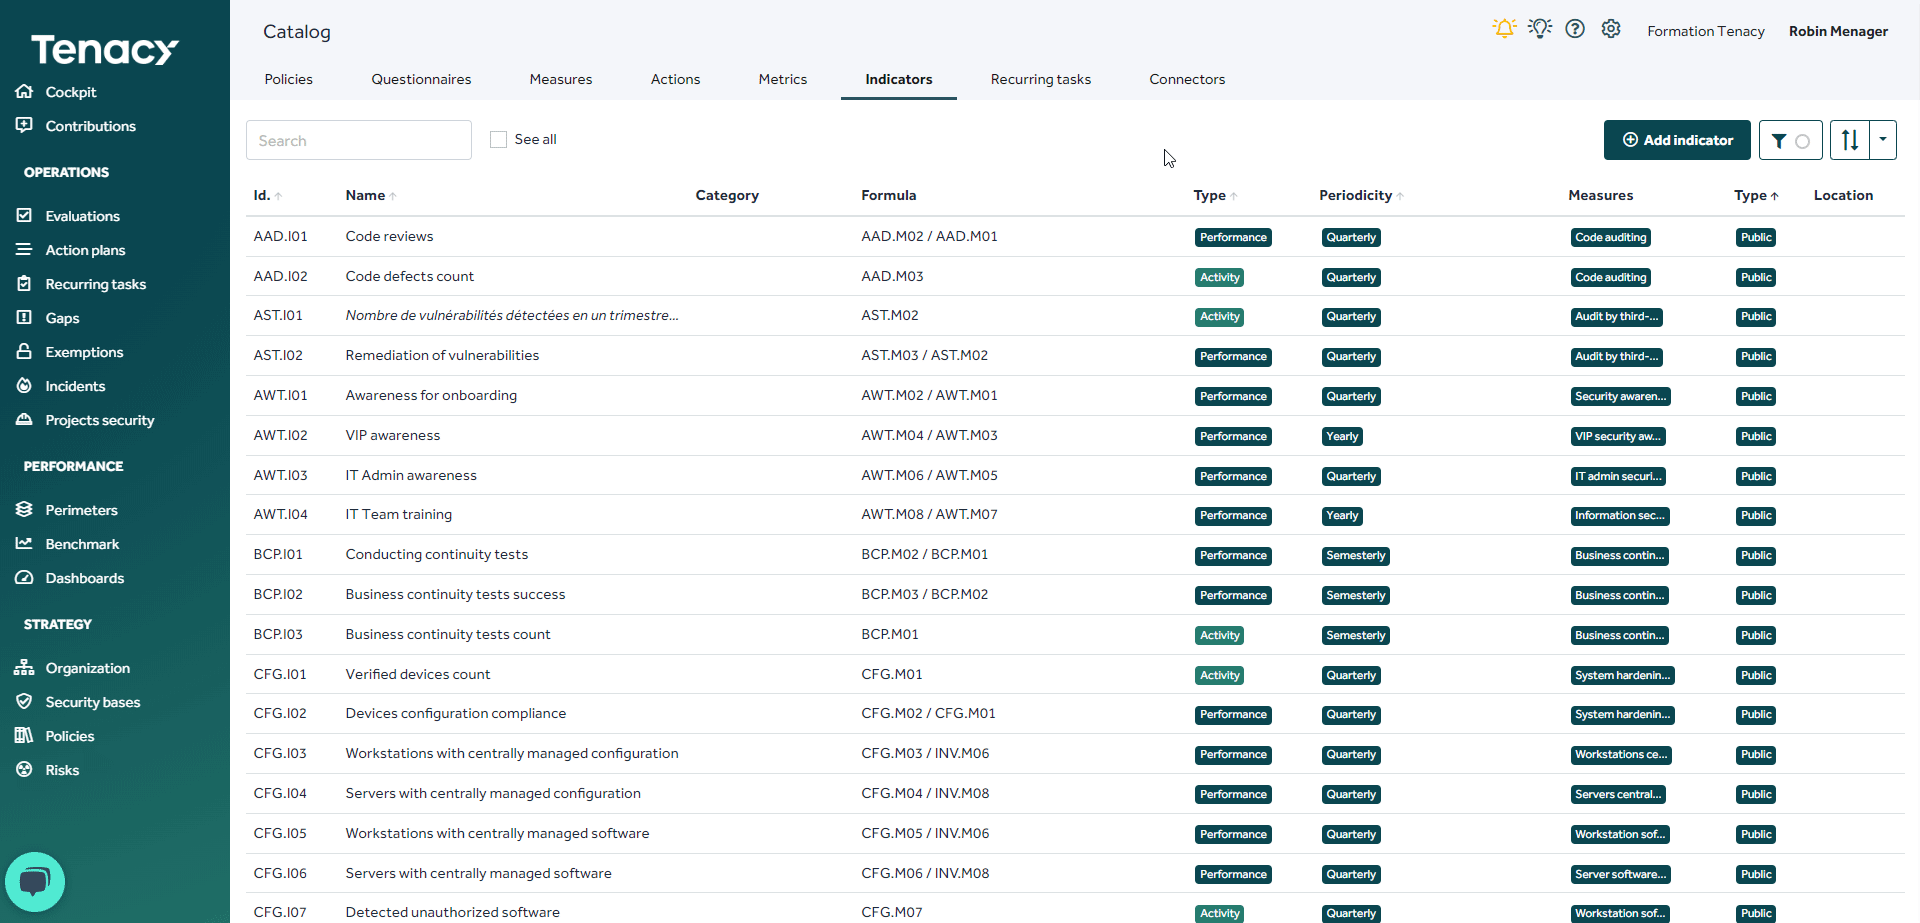
Go to the wheel⚙️> catalog > "Indicators" tab
Find the indicator you want. Feel free to use filters.
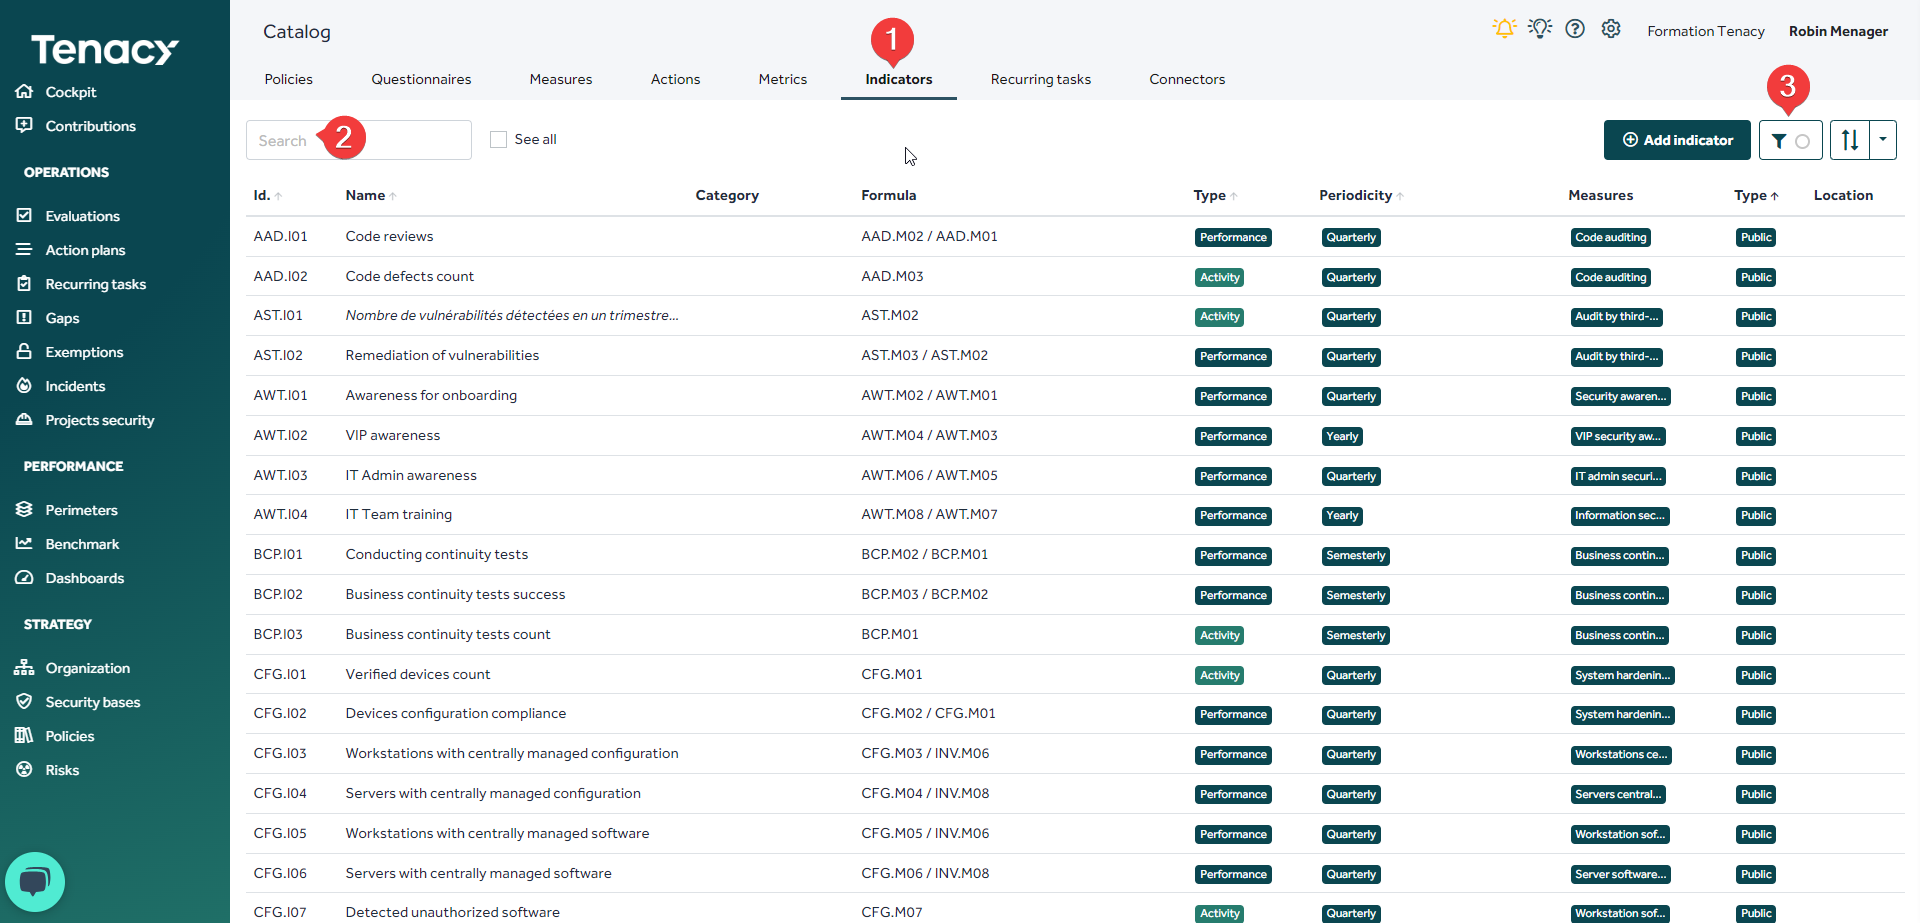
At the end of the line, click on "operate indicator"
⚠️ By operating an indicator from the catalog, you only instantiate it on your perimeter, it is not connected to a measure. It will therefore only be useful to be used in a dashboard.
We therefore advise you to instantiate indicators linked to measures. When you operate a measure, the solution will automatically suggest adding indicator(s) related to your measure.
Refer to this article if necessary.
3. Attach an indicator to a operated measure on a perimeter
You can attach an indicator to an operated measure.
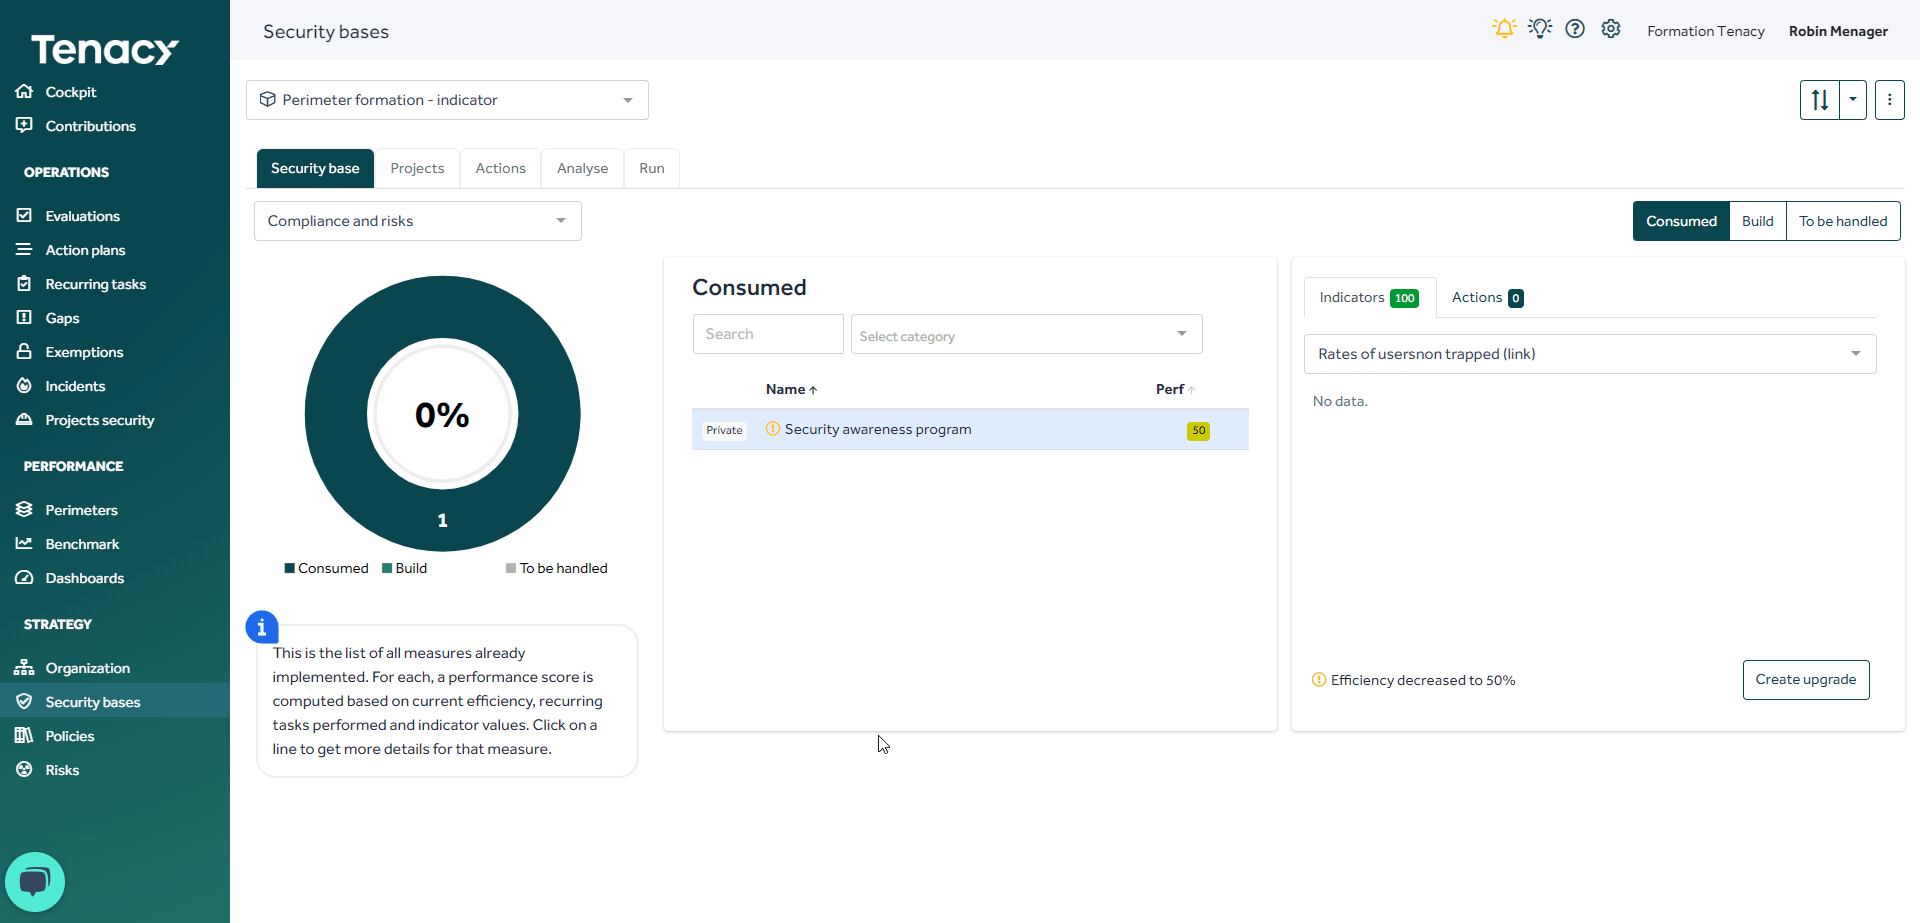
To do this, go to "security base" then select the desired perimeter. Select the measure concerned, edit it:
Go to the "Indicators" tab to select the desired indicator.
4. Complete your indicator
Once your indicator is attached to your perimeter, it is necessary to add data to the associated metrics.
To do this, go to "Contributions" then to the "Metrics" tab. Enter the desired values.
Go to security base to observe the impact on the performance of your measure.
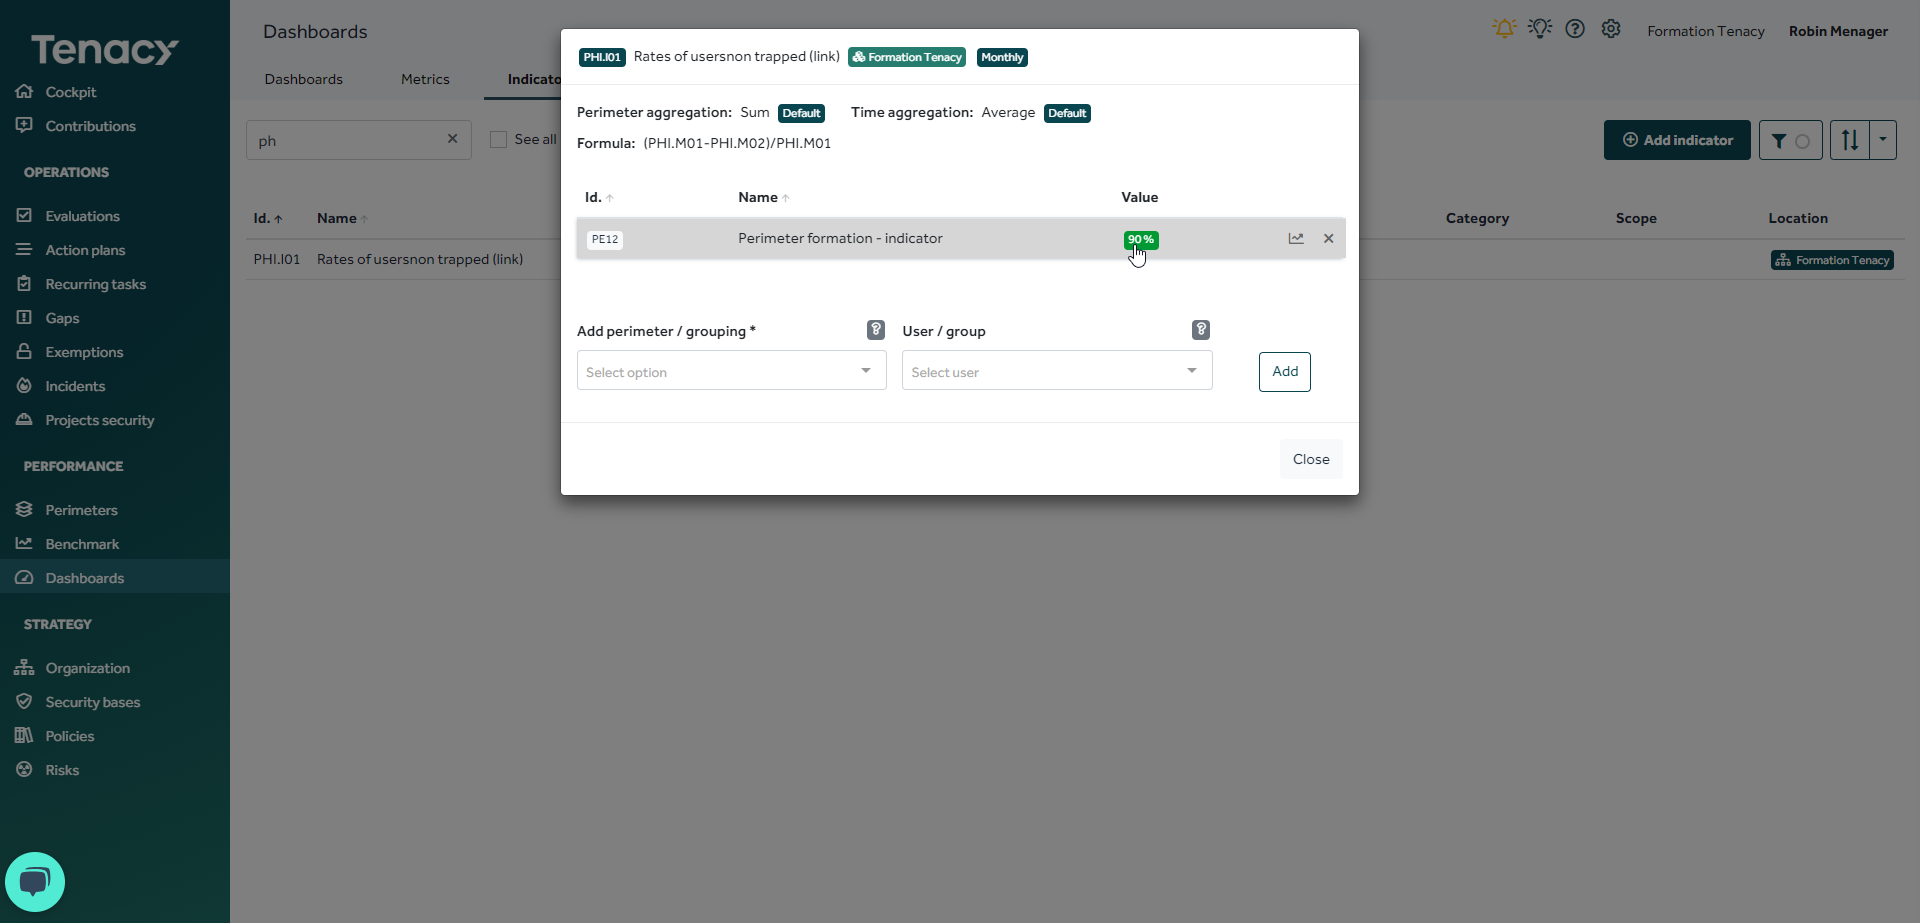
Finally, go to "Dashboard" "Indicators" tab to see the details of your indicator.